Fruits & Veggies Family Contest

Comment

Fruits & Veggies Family Contest

This summer my oldest daughter and I were talking about how many different fruits and veggies we each ate one day. She then had the brilliant idea to turn it into a contest. I decided to make it interesting and proposed that the contest would be for one month. The winner gets $50. If there is a tie then the money is split evenly. After realizing I was dead serious both of my daughters looked at me and almost simultaneously said "You can't play." I agreed, but told them their Dad would play too to keep it them on their toes. 

Kirk & June

We started the game at the beginning of August. I assumed the girls would fall somewhere in the range of 8-12 different fruits and vegetables each day. For years, I have always tried to eat at least 10 varieties daily. It's pretty easy to do especially if you eat a whole food plant-based diet. My kids on the other hand tend to eat more junk than I would prefer although they are both vegan. I knew that they would have to eat less junk trying to win. My husband had a great idea to add a bonus point for drinking at least 3 large glasses of water and taking a b-12 vitamin. To my surprise they averaged around 16 or 17 each day!

Our vacation to Montauk didn't slow them down much. They continued to play the game although the numbers came down closer to where I had anticipated in the beginning. The final week of the competition, my 15 year old took the lead. My 12 year old took note and went all in. The last day, she hit the highest count of all 21! They ended up tying and split the prize. 

June, Audrey and Holly

I guess it's fair to say that I now pay my kids to eat fruits and vegetables. The habits they develop now will be far more valuable in the long run than paying them to do household chores. 

Comment

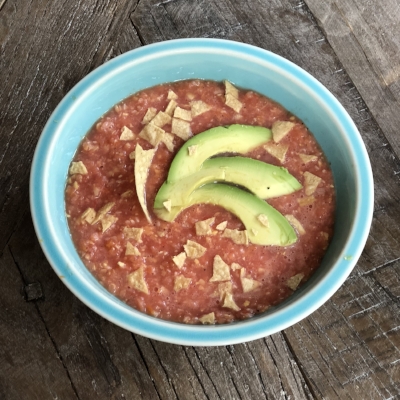
Organic Farmers Market Tomato & Corn Soup

Comment

Organic Farmers Market Tomato & Corn Soup

These past few years of living in New England have taught me to treasure and enjoy each sunny and warm day. The produce is lovely during the summer months and we take advantage of it by growing our own garden. 

Food has healing properties and when you can either grow your own or buy them at your local farmers market, you are getting far more benefits than if you bought it in the super market. You have an opportunity to meet the farmers who grow the food and ask them how they take care of the produce. If you can afford to do so, buy organic. They are higher in micronutrients so you are getting more for your money.

If you can't get organic corn, please skip this recipe and make a smoothie instead. GMO corn is too risky. I won't serve it to my family and I certainly wouldn't want you eating it. Please double check when you purchase the corn even from your farmer if he says his produce is organic, Sometimes in CT they will have a few extra things that they bring on the side from another farm. These are the farm stands that aren't certified organic but have organic produce if you ask. I've found the farmers are very honest and generous with their information. If someone says I think so, take it as a no and buy your corn elsewhere. Now on with the recipe.

Organic Farmers Market Tomato & Corn Soup (Serves 4)

5 large organic tomatoes
3 ears of organic corn
1 large clove of fresh garlic
1 sprig of fresh rosemary chopped
1/2 teaspoon celtic sea salt
1/2 teaspoon organic olive oil

Garnish:
1/2 Avocado cut into thin slices
Organic or certified Non GMO Corn Tortilla Chips

Grill the corn. If you don't have a grill you can remove the corn from the cob and cook it on a cast iron pan until some of the kernels start to blacken. Either cooking method takes roughly 5 minutes. If using a grill, add the garlic clove and grill it for about minute each side. Set aside. 

farmersMarketSoup.jpg

Chop the tomatoes and lightly pulse them in a blender. Chop the grilled garlic clove. Add the olive oil to a medium saucepan on medium high heat. Cook the garlic for one minute. Add the chopped tomatoes and simmer for 3-5 minutes. Meanwhile remove the grilled corn from the cob. Add the corn, rosemary and salt into the tomato mixture. Cook for an addition 2 minutes. 

Place the soup back into the blender. Gently pulse. Don't over blend or the tomatoes will get foamy. You just want to pulse it a few times to lightly chop and blend the corn into the tomatoes. 

Pour into 4 bowls. Place 3 or 4 slices of avocado artfully on top of the soup. Add one tortilla chip and take an additional one or two mashed chips and sprinkle them on top.

Enjoy! 


Comment

Dandelion Love

Comment

Dandelion Love

I don't know about you, but when spring hits and the dandelions pop out in full force, I get embarrassed. I feel as if I have to apologize to everyone who comes to the door for our lawn. We don't spray chemicals so it's not the perfect green lush yard, and that's good. Good for our water, our health and the environment. 

IMG_2406.JPG

It's funny when you think about it. Society has decided that the dandelion is an eye sore. Perhaps we are embarrassed because we have been conditioned to think Nature is a problem. I wonder how this came to be? Chances are you can trace it back to the first weed killer company that picked the heartiest plant that is the one of the hardest to control. Anyone who has dandelions, knows they come at you with a vengeance. 

Did you know the dandelion is edible and full of health benefits? In fact, when you can pick it wild, you will reap more benefits because isn't days old like the ones you buy at the grocery store. We have been taught to use cancer causing sprays to get rid of a food that helps you not get cancer! I don't know about you, but it makes me mad. There are too many people and animals getting sick these days. It's time to stand up and take charge of your health.

The next time you see the dandelion growing in your yard, consider picking the leaves or even pulling the whole plant out but use it instead of throwing it away.  Wash off a leaf or two and throw them in a smoothie or eat them raw. You can also juice them or use the leaves for a stir fry.

Instead of being ashamed of your lawn, have a bit of a sense of humor about it. Maybe it's Nature's way of trying to help.

Comment

Whole Foods Market Darien Cooking Class Challenge - Vegan Buckwheat Beauty Crepes

Comment

Whole Foods Market Darien Cooking Class Challenge - Vegan Buckwheat Beauty Crepes

March is beauty month at Whole Foods Markets. In honor of the theme, I was asked if my vegan cooking class in Darien and tours this month could be tied into the events. I was also asked if it could also be a brunch item.  An overwhelming yes came out of my mouth. I love to think about at the benefits of food before I decide what to eat each morning. Challenge accepted!

Whole Foods Market Cooking Class with Holly Skodis

Now that the class is about beauty that meant that the food choices have to contribute to glowing skin and get you on your way to a gorgeous healthy self.  I'm very strict with what I eat so I decided to formulate a crepe that was 100% whole foods plant-based with no oil, added sugars or refined grains and no guilt. AKA something I would eat. If I'm serving it to others it also has to be tasty. 

I absolutely love crepes. They are so versatile because they can be both savory and sweet. While traditional crepes are quite yummy, they aren't particularly good for you. I spent the next few days formulating my perfect crepe, savory and sweet.  

I decided to use buckwheat because it is one of the healthiest foods you can eat. It's name is a little misleading as it isn't a grain It's a seed. It's beauty benefits include; glowing skin from relaxed blood vessels, essential nutrients to help hair growth,  protection from premature aging and weight loss. This powerhouse also is protective against breast cancer, lowers blood pressure and cholesterol, and is a mood enhancer that aids in depression.  

I then played around with adding some of my favorite nutrient packed ingredients; shiitake mushrooms, garlic, spinach, and garlic for the savory version and bananas and blackberries for the sweet. Both crepes would taste lovely with a cashew creme which makes a great substitute for dairy. It would also be a helpful demonstration for people new to exploring vegan foods.

The Savory Vegan Buckwheat Beauty Mushroom Crepes with Spinach and Creme provide a whopping 10g of protein and 4g of fiber per crepe. They are high in many of the B vitamins. They provide 100% RDA of Vitamin K, copper, 50% magnesium, 60% manganese, 45% phosphorus, 33% selenium and 35% of zinc for those eating 2000 calories per day. They are also loaded with antioxidants. 

The Blackberry Banana Beauty Crepe provide 6g of protein and 5 grams of fiber. They provide 60% daily copper, 50% Manganese, 32% Magnesium, 24% Phosphorus and 20% of your vitamin E. High it antioxidants as well these are a zero guilt sweet treat.

The recipes follow. I hope you enjoy them as much as I do. 

Vegan Buckwheat Beauty Crepes
Makes 4 crepes

INGREDIENTS:
1/4 cup Bobs Red Mill Organic Buckwheat Flour
1/8 cup Bobs Red Mill Oat Flour
1/8 cup Bobs Red Mill ‘Sweet’ White Sorghum Flour
1/2 cup 365 Unsweetened Almond Milk
1/2 cup water
2 tbsp arrowroot powder

Combine the dry ingredients. Mix well. Add the almond milk and water to the dry ingredients. Whisk ingredients until combined and smooth. 

Heat a nonstick crepe maker or a cast iron skillet on medium high heat. If using the cast iron skillet lightly coat with olive oil removing excess oil with a paper towel. Add between 1/4 and 1/2 cup of batter depending on the size of crepe desired to the center of the crepe maker or pan. Using a large nonstick basting spoon gently spread the batter in a circular motion starting from the center towards the outer edges to thin and expand the crepe. Wait approximately 30 seconds to a minute before flipping your crepe. The crepe is ready to flip when it loosens on the edges with a spatula and looks drier throughout. Go slow to not tear the crepe. Once you flip the crepe cook for an additional 30 seconds to 1 minute. If you crepe still looks a little too moist you can flip it once again and let it cook for around 10 seconds more. 

savoryCrepe.jpg

Savory Vegan Buckwheat Beauty Mushroom Crepes with Spinach and Creme
Serves 4

4 Buckwheat Beauty Crepes (recipe above)

3 cups organic shiitake mushrooms sliced thinly stems removed

1.5 cups organic portobello mushrooms sliced into 1” pieces stems removed

2 cups organic baby spinach 

2 cloves garlic chopped

3/4 tsp dried thyme
1 tbsp nutritional yeast

1/4 tsp celtic sea salt (optional)
2 tbsps chopped fresh chives
ground pepper to taste
3/4 cups cashew creme (recipe follows)

Head a cast iron skillet on medium heat. Sauté the mushrooms in water by adding 1 tbsp of water at a time to keep the pan moist and the mushrooms from sticking. Cook for approximately 5 minutes until the mushrooms soften completely. Add the garlic and thyme and cook for 1 additional minute. Meanwhile in a separate bowl add 1 tbsp nutritional yeast and salt if you are using it to the 3/4 cups of cashew creme. Add 1/4 cup of water and stir. Add the sauce to the mushrooms in the pan and cook for 1 minute. Add the spinach, stir and continue to cook until the spinach just wilts. If the sauce begins to thicken too much add 1 tbsp of water at a time to thin it a bit. Add pepper to taste. 

To assemble the crepes place 1/4 of the mushroom mixture in the center lengthwise of the  crepe. Sprinkle 1 tsp of chives. Fold the left side of the crepe at an angle over the mixture. Do the same with the right side. The finished crepe will be more open at the top and sealed at the bottom. Garnish with chopped chives. Serve promptly. 

sweetCrepe.jpg

Blackberry and Banana Beauty Buckwheat Crepes
4 Buckwheat Crepes
3/4 cups organic blackberries
1/4 cup water
1 tsp fresh lemon juice
2 ripe bananas thinly sliced
3/4 cups cashew creme- recipe follows

Make the blackberry sauce. Add the water, lemon juice, 1 tbsp cashew creme and blackberries to a high speed blender. Blend on medium for approximately 30 seconds. Turn off the blender and scrape down the edges with a spatula. Blend again until smooth. Set aside

Assemble the crepes. Take 1/4 of the sliced bananas and place into the center lengthwise of the crepe. Drizzle 1 to 2 tbsps of of the blackberry sauce over the bananas. Repeat with the creme sauce. Fold the edges of crepe closed at a slight angle leaving the top more open. Drizzle the top of the crepe with a little more blackberry sauce and creme for presentation. 

Cashew Creme Sauce (Yields about 1 1/2 cups or a little less depending on soaking time)
1 cup organic raw cashews
3/4 cup purified water
1 tsp fresh lemon juice 

Soak the cashews in purified water for 1-2 hours. Drain the cashews and add to a high speed blender like a Vitamix. Add 3/4 cup purified water and 1 tsp fresh lemon juice. Pulse on medium high for approximately 15 seconds. Turn off the blender. Using a spatula, push down the cashew pieces from the sides and top of the blender. Blend until smooth. You may add extra water 1 tbsp at a time if needed. Set aside

Comment

Snacking Pancakes

3 Comments

Snacking Pancakes

IMG_1329.JPG

I'm kinda obsessed with buckwheat right now. It's one of those foods that have no guilt attached to it. It's high in protein and fiber, niacin (b3), magnesium phosphorus selenium, b6 and iron. If you want amazing skin, improved digestion, and lower blood pressure this high antioxidant and diabetes fighter is your seed. 

I love treating myself with the dark high mountain buckwheat tea  from Arogya and have recently become a fan of buckwheat pancakes. After a bit of experimenting I've come up with what has become my snacking pancake. They are great for breakfast but dense enough to grab from the refrigerator and snack on during the day.

Vegan Banana Blueberry Buckwheat Snacking Pancakes. 
Makes 8 pancakes

Ingredients:
1 1/2 cups buckwheat flour
1 1/2 sliced banana
1/2 organic blueberries fresh or frozen
1/4 cup applesauce
1 cup organic soy milk or other nut milk unsweetened
3/4 cup water
1 tbsp apple cider vinegar
1 tsp vanilla extract
1 1/2 tsp baking powder
1/4 tsp salt

Combine wet ingredients, stir and set aside. Combine dry ingredients except for the bananas and blueberries in a large mixing bowl and mix. Add the wet ingredients and combine until the dry mix is incorporated into the wet. Heat a cast iron skillet on low/medium heat. Lightly grease with avocado or olive oil. Add 1/8th of the pancake batter onto the skillet. After 1 minute add 4-5 slices of banana and some blueberries to the batter. Cook for 1 or 2 more minutes until the pancake is firm enough to flip over. Flip the pancake and cook for 1 or 2 minutes until thoroughly cooked. Repeat until all 8 pancakes are completed. Either serve warm or set aside in the refrigerator for snacking pancakes. 

Enjoy!


3 Comments

Vegan Risotto with Shitake Mushrooms, Shallots & White Wine - Pressure Cooker Recipe

1 Comment

Vegan Risotto with Shitake Mushrooms, Shallots & White Wine - Pressure Cooker Recipe

Last night I taught another cooking class at Whole Foods Market Westport. The theme for the evening was Vegan Valentine's Dinner. The menu for the evening was a shiitake mushroom risotto with shallots & white wine paired with an organic green salad with walnuts and cherry tomatoes and a fig balsamic dressing. We offered Buckleberry Foods Truffles for dessert that are nothing short of spectacular.

Risotto is one of my favorite special occasion dinners. Not only are shiitake mushrooms incredibly delicious but they are extremely healthy. They are great for your immune system, skin, cardiovascular system and brain. They are both anti-inflammatory and anti-cancer. Legend has it they are also aphrodisiacs making them a perfect choice for your Valentine. 

When I do the classes, I'm always hoping that some non-vegans will come so they can taste some really great food. I try to teach something they may not already know or something that was a stumbling block to me. This risotto was a nice entry point because it taught a few things.

  1. Making a risotto doesn't have to be a long painful process. Using a pressure cooker makes it quick and easy and remarkably just as creamy and delicious. 
  2. That using a pressure cooker is not difficult or scary when you know what you are doing.
  3. It's possible to have a cheese-like taste and consistency without using animal products.
hollywholefoods.jpg

I ended up getting about a split of vegan to non-vegan ratio which was nice. The class went really well and people came back for seconds. Yay!

This dinner can me made in about 30 minutes or so. I hope you enjoy it. 

Vegan Risotto with Shitake Mushrooms, Shallots & White Wine
Serves 6

RISOTTO INGREDIENTS:
2 cups Organic Arborio Rice
1 tbsp olive oil
3 shallots minced
2 cloves garlic minced
2 cups shiitake mushrooms chopped
4  cups Engine 2 Low Sodium Vegetable Broth
1/2 cup water
1 cup nutritional yeast
1/2 lemon juiced
1 tablespoon tamari
1/2 cup white wine
1 tbsp fresh sage minced or 1tsp dried
1 tbsp fresh thyme minced or 1 tsp dried
1/2 tsp Celtic Sea Salt

BALSAMIC FIG DRESSING
(yields 1 1/2 cups)
4 large dried Turkish figs
2 dates pitted
1/2 cup good quality balsamic vinegar
1 cup filtered water
1/4 teaspoon salt

1 Box Whole Foods Organic Spring Lettuce
1 Box Organic Cherry Tomatoes halved
1/2 cup chopped raw walnuts

risotto.jpg

Remove the Instant Pot/Pressure Cooker lid and set it to the brown setting. Once heated, add the olive oil and shallots and cook for 2-3 minutes until just browned. Add the mushrooms and 2/3 cup white wine. Cook stirring occasionally until the wine is almost evaporated. Approximately 4-5 minutes. Stir in the garlic and cook 1 additional minute. Add the arborio rice and stir to combine with the mushroom shallot mixture for 1 minute. Add vegetable broth, nutritional yeast, lemon juice, tamari, sage, thyme and sea salt. Stir to combine. Place the lid back on the the instant pot/pressure cooker and set it to the airtight position. Set the cook time to 7 minutes and press start.

Meanwhile make the balsamic fig dressing. Add all ingredients into a blender and blend on high until smooth. Make each salad individually on separate plates. Add a large handful or two of the lettuce. Top with Walnuts and Cherry Tomatoes. Add Dressing to taste. 

After the risotto is done cooking let it rest for 1-2 minutes. Carefully, using tongs and/or an oven mit manually release the pressure manually by turning the valve. Make sure you are away from the steam. When the pressure is released open the lid, stir and serve promptly.

1 Comment

Orange Radiance Smoothie

Comment

Orange Radiance Smoothie

It's important to make sure we eat a variety of fruits and vegetables everyday. I make it a daily goal is to try to eat at least 10 different kinds because they all contain different healing powers for optimum health.

While I have no problem meeting my daily ten, for whatever reason, I have a harder time incorporating orange colored fruits and vegetables into my daily diet. I usually have turmeric at least in tea form and carrots reasonably often but that's usually about it. 

orange-Radiance-Smoothie.jpg

In the last couple of months, I've had two gorgeous and vibrant friends who are both near 70 years old tell me to look into the Medical Medium, Anthony William. On both accounts, they uttered the disclaimer, he's way out there as he gets his information from "spirit" but they both believe his information is right on. When I say these women are gorgeous, I mean it. Both of them look decades younger than they really are and it's not because of plastic surgery, botox and fillers. Their vibrance is a direct result of their self care and lifestyle. 

I listened to his podcast on heart health because heart disease runs on my father's side of the family.  I decided to try to take the advice that he gave to one of his friends who had not eaten an orange in over a year! He told him to eat 3 oranges a day until further notice. According to Anthony William the calcium in oranges protects the nervous system as well as the heart. The bioflavonoids and vitamin c in oranges also protect the heart. I'm all for eating lots of fruits and veggies so it made perfect sense that I should give it a try. 

I don't particularly like to eat oranges. I find them annoying to peel and the texture's a little ho hum. I decided to craft a smoothie that incorporates oranges instead. I also wanted to see if I could get turmeric root in there too. It's a more powerful boost if you can use fresh turmeric in one form or another. Through my experimenting I realized the only way to incorporate the turmeric into the smoothie without it tasting like a curry was to juice it first. So if you decide to make the smoothie and do not have a juicer, my advice is to omit the turmeric juice, black pepper and ginger juice from the smoothie. It's delicious without it as well.

Orange Radiance Smoothie Recipe:
2 oranges peeled
1/2 banana
1 cup liquid- I like organic unsweetened soy milk for a creamy texture and added protein but almond milk with a  tablespoon of hemp or chia seeds is a nice substitution if you don't like soy. You could also use water.
1 cup organic spinach leaves
1.5 inch sized piece or turmeric root peeled and juiced
1/2 inch piece of ginger root juiced
1 small pinch of black pepper to increase the turmeric's bioavailability

Blend on high under smooth. During the winter months I make my smoothies a little warmer and blend them a little more.  In summer months I freeze my bananas for a cold creamy consistency. 

Enjoy!


Comment

Keep the Holiday Weight Off with Life Hacking Pro Tip, Beans

1 Comment

Keep the Holiday Weight Off with Life Hacking Pro Tip, Beans

This time of year can be especially tricky for keeping a slim waste. We kick off our holiday season in our house the day after Thanksgiving with vegan chocolate covered peanut butter balls and keep them going until January 1st. I'm not one to keep an endless supply of sweets in the house, but during the Christmas season it's non-negotiable with my family. So how does one keep the weight off and help manage their family's cholesterol? Beans. 

We've known for years that beans are great for us. They are recommended to diabetics to help manage blood sugar levels. Their superhero power, soluble fiber is excellent for helping lower your bad cholesterol. Numerous studies have also linked the consumption of beans to reductions in colon, breast and prostrate cancers!

But, did you know that eating 5 cups of lentils and beans also has been shown to have the same weight loss and metabolic benefits as eating a restrictive caloric diet? My ears certainly perked up when I heard this life hacking tidbit on the Nutritionfacts.org podcast, Beans Beans: The Truth About Lectins  

I wondered if I upped my bean and lentil consumption up to 5 cups this week and allowed myself a few more sweats and treats, would my weight stay the same? Just so you guys have a reference, I usually don't even eat the peanut butter balls. It's also rare for me to have sugar. I usually try to eat my last meal of the day by 6pm and it normally consists of a light dinner. I also keep a vegan whole foods plant-based diet. This week I went off the rails, lol and snacked during the week. I had a few peanut butter balls, a couple GoMacro Macrobar Protein Pleasure Peanut Butter Chocolate Chip bars, and a Mom's Munchies Skinny Mint Cookie and a bit of wine.  I also ate a little later than usual, had some tortilla chips a couple of days and slightly later dinners. Guess what? I kept my weight exactly where I like it. My really happy weight is in the range of 115-117 lbs. At the end of eating way more processed food than I usually do, I was at 116! You may be thinking it's really not that much, but for me it makes a difference in my body. 

While I'm not recommending that you eat a lot of processed food, I will tell you eating 5 cups of lentils and beans this week did allow me to have a bit more freedom in my diet as far as the scale is concerned. If you are wondering if my weight usually stays at this range regardless of what I eat? The answer is no. I was a heavier kid and I struggled with my weight until I figured out how to eat right in my forties. It wasn't uncommon for me to fluctuate around 20 plus pounds. I usually check in with the scale now once a week so I keep myself in check. 

So if you are trying to keep the weight off during the holiday season, or any other for that matter, there is one easy thing to do. Eat your beans! 

There is no easier way to cook beans than with a pressure cooker. Pinto beans are my all time favorite. Here's how you make them:

IMG_0591.JPG

1. Soak

Place 2 cups of organic pinto beans and water measuring 1 inch above the beans in a container and soak overnight in the refrigerator. 

IMG_0592.JPG

2. Chop

The next day chop 1 yellow onion. You can also had a piece of kombu to help remove any extra bean gas. 

IMG_0596.jpg

3. Cook

Rinse the beans. Add beans, onion & kombu to an electric pressure cooker. Cover the beans and onions with enough water to just cover them and set the pressure cooker to airtight. Cook for 14 minutes 

IMG_0597.jpg

4. Open

After the pressure cooker has naturally released it's pressure (approx 45 minutes) open the lid away from your face.

IMG_0598 3.jpg

6. Mash

If your mixture looks way too watery remove extra liquid but save it on the side until you are happy with the consistency. Mash the beans until creamy.

IMG_0608.JPG

Enjoy!

They are especially tasty with veggie tacos, burritos and bowls.

I love this pressure cooker! It's also a slow cooker. You can find cheaper ones out there, but this model has a stainless steel insert. I prefer this to the coated non stick and have not had any problems with food sticking. 

1 Comment

A Vegan Holiday Dinner So Easy, Even a Child Can Make It!

2 Comments

A Vegan Holiday Dinner So Easy, Even a Child Can Make It!

I was blown away by the dinner my daughter June made for our family this Thanksgiving! Believe it or not, she is 11 years old. That's right folks, making an amazing vegan holiday dinner is so easy, a child can do it. Well, that's not entirely fair, she happens to love cooking and I have cooked so many Thanksgiving dinners in the past that I can guide her when she needs it. In all fairness though, she really didn't ask for much help. 

She has recently declared that Thanksgiving is one of her favorite holidays. This is so wonderful for me because I had struggled for many, many years to attempt to enjoy Thanksgiving. Like many others during the holiday season when you grew up in a chaotic or unhappy home as a child there are often more bad memories than good. It's taken me quite a long time to not be put off by it even though we have celebrated it much differently for so many years now. This year, my heart completely changed. 

The wonderful thing about cooking vegan for the holidays is that it's not overwhelming and you don't have a carcass in your oven. June did about 70% of the the meal. I added a few dishes that I knew I would eat for the next couple of days.  Here's what we served: 

"Turkey" Wellington
Mashed Potatoes
Stuffing
Yams and Marshmallows
Yams without Marshmallows
Golden Gravy
Mushroom Gravy
Roasted Brussels Sprouts with Garlic
Candied Carrots
Cranberries with Orange Sauce
Raw Mushroom Loaf
Pumpkin Pie
Raw Pumpkin Chocolate Pudding

Preparing for the meal was easy. I went to the market on Tuesday to buy everything I needed. Tuesday night I marinated the mushrooms for the Full Helping's Raw Nut Loaf. June made the pie crust for the Pie from Chloe's Vegan Desserts. 

The following day June made the pie and I assembled the ingredients for the Raw Nut Loaf and put it into the dehydrator. I also had June put all the dry ingredients for the seitan from the Veg News December Issue.  We were all prepared and my husband and I went out to the city for a date night. I took the raw loaf out of the dehydrator  when we returned late that evening. 

Thanksgiving morning June made the dough for the seitan and we steamed it for an hour. Meanwhile I cut the brussels sprouts and garlic and set it aside. I then practiced yoga for about an hour. After I got dressed we began cooking the rest of the meal.

We used the pressure cooker to quick the yams in advance. About an hour before we planned on eating we put the potatoes in the pressure cooker. After they were finished cooking, I mashed the potatoes in the pressure cooker and added some soy milk and earth balance butter.  I kept them in the pressure cooker on the warming setting until we were ready to serve the meal.

Everything went very smoothly except for one hiccup. We forgot to thaw the puff pastry for the 'Turkey' Wellington. Thankfully it comes with 2 pastries and we only needed one. I decided to try to thaw the pastry in the dehydrator at 105° to see if it work. It did! It took about 10 minutes and we were barely delayed. 

Dinner was served at 5:45pm. Everyone loved the "Turkey" Wellington. I think this may become a tradition for years to come. 

Turkey Wellington recipe from Veg News Nov Dec 2017 issue 

Turkey Wellington recipe from Veg News Nov Dec 2017 issue 

Pumpkin Pie from Chloe's Vegan Desserts

Pumpkin Pie from Chloe's Vegan Desserts


2 Comments

Vegan Black Bean Pasilla Chili

1 Comment

Vegan Black Bean Pasilla Chili

One of my yoga student's recently asked me for a chili recipe. I haven't made one in a while, but I decided to dig up one of my favorite recipes that I created years ago in California. The picture is from my last house. I really miss the recycled glass back splash.

The must have ingredients in a really yummy chili are 2 things, beans made from scratch and beer. 

VeganBlackBeaniPasillaChili_pages.jpg

Black Bean Pasilla Chili
6 cups cooked organic black beans cooked with 1 organic yellow onion plus liquid (recipe follows)
1/2 red onion finely chopped
6-8 minced garlic cloves
2 large or 3 small organic fresh chili pasillas chopped into 1" pieces
2 ears fresh or 1 1/2 cup frozen organic or frozen organic fire roasted corn
 4-5 fresh organic tomatoes or 1 28 ounce box or can of organic chopped tomatoes
1 cup Samuel Smith's Organic Pale Ale or other favorite vegan beer
1 tablespoon organic chili powder
 tablespoon oregano
1/4 cup organic tamari

Protein Add-ons (pick one of the following)
1/2 cup Bob's Red Mill Organic Textured Soy Protein (TSP) -pictured in the photo
1/2 - 1 package Beyond Meat Beef Crumbles, BEEFY
2 Field Roast Mexican Chipotle Sausages
1 box or can of navy or great northern beans and 1 box cremini or button mushrooms sliced. 

Saute the red onion, corn, and pasilla chilis in 2-3 tbsp of water for 5 minutes. If using mushrooms cook them here tooAdd more water as needed.  Add garlic for 1 minute and cook for 1 minutes longer. Add all the remaining ingredients plus 1 protein add on.  Cook on high heat until it reaches a boil. Reduce the heat until it reaches a simmer. Partially cover the pot and cook for 30 minutes - 1 hour. In general the longer it cooks the deeper the flavor. For extra delicious chili allow the flavors to develop overnight in the refrigerator. Reheat the next day and serve.

Black Beans
soak 2 cups organic black beans overnight. You can cook the black beans 3 different ways. The easiest and quickest is by far the pressure cooker.

Stovetop method- Rinse beans and place in a large pot with 1 chopped yellow or white onion. Add enough water to cover the beans by about an inch. If you find that beans make you gassy, add either a piece of kombu or 2 bay leaves when cooking. Turn the heat to high and allow the water to boil. Once it reaches a boil reduce heat and let simmer for about 1.5 hours. Be mindful to watch the water level and add water as needed. The beans are done when they are soft. Make sure to reserve the liquid for the chili. 

Slowcooker method- Rinse beans and place in a large pot with 1 chopped yellow or white onion. Add enough water to cover the beans by about 1 - 1.5 inches. If you find that beans make you gassy, add either a piece of kombu or 2 bay leaves when cooking. Set the slow cooker to 7 hours on high. Check to see if they are done after six hours. Make sure to reserve the liquid for the chili.

Pressure cooker method-  Rinse beans and place in a large pot with 1 chopped yellow or white onion. Add enough water to cover the beans by about a 1/2 inch. If you find that beans make you gassy, add either a piece of kombu or 2 bay leaves when cooking. I like to set the pressure cook time to 20 minutes instead of the 14 minutes. Let the pressure cooker release it's pressure naturally. The whole process takes roughly 45-50 minutes from beginning to end. Please be aware that I use an electric pressure cooker you may have to adjust the time for a stovetop model. Make sure to reserve the liquid for the chili.

Serve with either fresh pico de gallo or chopped white onions and cilantro with a squeeze of fresh lime and vegan sour cream. My kids love Tofutti Better than Sour Cream or the wonderful Cashew Sour Cream recipe from Oh She Glows. This also pairs wonderfully with a large salad. 

Enjoy!

1 Comment

Taking Vegan Back

2 Comments

Taking Vegan Back

Today I decided to embrace the word vegan for my marketing and educational purposes instead of using plant-based. In the past I've pussy-footed around using vegan mainly because I didn't want to offend or exclude anyone, but yesterday I saw a promotion so off base I felt it was necessary to draw a line in the sand.

The promotion was for a special dinner at a local restaurant promoting a plant-based path. Sounds wonderful! A friend had forwarded this email to me without reading the menu thinking that I would be interested in going. She's right! I would have been if it was indeed a plant-based meal. 

I don't want to bash the restaurant or the woman doing this special dinner, but I do want to clarify that this is not in line with any of the main influencers in the whole foods plant-based movement. It's so problematic and misleading in my opinion that I feel it's necessary to ditch the sole use of plant-based for now as to not confuse my clients.

You are probably wondering what set me off so much? Are you ready? The menu for this event had a main course of chicken thighs! WTF, right! 

I'm all for people incorporating more fruits and veggies into their diet. Heck I had to ease into eating this way when I started, but if you are going to host a plant-based event, leave the meat out! There are a multitude of amazing, delicious, 100% plant-based recipes out there to wow your guests. The point of eating plant-based is to get rid of the animal products, certainly not showcase them and at most keep them under 10% of your total calories. 

I was so perplexed as to how this could happen in the first place that I did a little research. Wikipedia has such a wishy washy version of plant-based. Could this maybe, possibly, not really believing this as I type, give a small bit of merit to the aforementioned event?  

There are definitely some gaps in what the public is perceiving as plant-based at the moment. Martica Heaner, PhD's article  Vegan, Plant-Based Diet or… What Label Works? sheds some wonderful light on how our movement's influencers are too struggling with the terminology.

Plant-based and vegan eating is catching some serious momentum. People are ready to learn how a plant-powered or vegan diet can treat and sometimes reverse many common diseases. What scares me though is that some well-meaning businesses are trying to ride on the plant-based coattails delivering information that isn't inline with the leading plant-based doctors, scientists and data.

For now I will refer to what I teach as vegan with an emphasis on the importance of a whole foods vegan diet. A diet that encourages kindness, promotes peace and reaps the benefits of a whole foods plant-based diet. 

For more information on the power of plant foods check out the following resources:
Nutritionfacts.org
PCRM Physicians Committee for Responsible Medicine 
T. Colin Campbell Center for Nutrition Studies
Dr. Joel Furhman
Dr. Caldwell Esselstyn
Dr. John McDougall


2 Comments

Comment

The Impossible Burger is now available at Bareburger in Ridgefield, CT!

IMG_0376.jpg

I've been dying to try this burger after hearing all the hype this past year. I finally got a chance last week. If you haven't already heard about it, it's the very first burger designed to look, feel and taste like meat. Impossible Foods uses a heme protein in soy to mimic the taste and feel of blood that gives meat it's, well meatiness. While some vegans are kinda disgusted by it, and rightfully so, I think it's fascinating.

We are coming to an age in time where we need to shift our habits. The health of humans and the planet is at an all time low. Eating a plant-based diet solves these problems.  Some people have a really hard time making changes. For those who don't want to give up their meaty burger,  the Impossible Burger truly delivers.

My husband and I brought our daughters and a friend to Bareburger in Ridgefield last week to try it out. I had an impossible burger on a salad no bun. The rest of the family had buns, vegan cheese and custom fixings. We all agreed it tasted like meat. While I haven't had meat in over 7 years, it tasted like either a blend of beef and turkey or perhaps another type of exotic meat from what I could remember. My youngest daughter (11) who has been vegan for just under 1 year agreed with me. 

So how did we feel the next day? My husband and youngest daughter felt great. While they eat a whole foods plant-based diet when I prepare it for them, they also don't worry about having veggie burgers and other "junky" food now and then when they feel like it.  My youngest daughter loved the burger so much she's already asked to go get one again. My oldest daughter, although also vegan, doesn't always eat perfectly clean either but she feels the difference when she doesn't. She's a dancer and gets the food/body connection. She mentioned that she felt kinda gross the next day.

I on the other hand eat a good 60-80% raw and 6 out of 7 days a week completely whole-foods plant based while always 100% vegan. I'm very mindful of what I eat but I wanted to know what it tasted like. I didn't feel great the next day and could feel it in my yoga practice. My only regret  though is that I didn't have the cheese and bun. The reason I felt so lousy is that it's a processed food so if I'm going to feel yucky the next day, I might as well eat the works next time.

My daughter's friend who eats meat also agreed that the burger tasted like real meat too. If you are trying to transition and really need a meat cheat once in a while, please give the Impossible Burger a try. You won't be disappointed. 


Comment

Comment

The Dirty Dozen and Why We Really Should Always Choose Organic

dirtyDozen.jpg

I first learned about the dirty dozen many years ago when I had my kids. Although I wasn't vegan at the time, it was important to me that I fed the best possible food to my children. Through the years, I have refined what I consider a healthy diet to be a plant-based diet, but this is a good start for everyone. 

I'm often surprised how many people haven't heard of this list. That's why I decided to write a short post about it. The dirty dozen are the worst 12 conventionally farmed fruits and vegetables that you can eat according to the EWG. They are the fruits and vegetables that have the most pesticide residue on them that doesn't really wash off. This year's list includes strawberries, spinach, nectarines, apples, peaches, pears, cherries, grapes, celery, tomatoes, sweet red peppers and potatoes. This doesn't mean that all the other fruits and vegetables are fine, it just means these are the worst twelve to remember. For a complete see the EWG's article on All 48 Fruits and Vegetables with Pesticide Residue Data

This list is an informational guide for consumers. The idea being if you can't afford to buy or find everything organic at least avoid the ones that are the worst for you. I think this guide is great, but it can unintentionally mislead consumers. 

As far as vitamins and minerals are concerned, there doesn't seem to be a lot of different between the amounts in organic versus conventional product. There is however a big difference between the amount of phytonutrients. "There are  19-69% more phytonutrients in organic fruits and vegetables" according to Michael Gregor's research

If you don't know what phytonutrients or phytochemical are, you aren't alone. They aren't listed on the back of cereal boxes or even listed in the nutrition facts on food labels. 

Phytonutrients are thought to be the chemicals in plants that help them grow strong and protect them against the elements. Guess what? It's now hypothesized that these phytonutrients are also what protect our health.  When produce is sprayed with pesticides, the plant no longer has to fight against the bugs and critters that try to eat it. The basic premise is that the plant is thus weaker because it didn't have to grow as strong and that's why it has less phytonutrients. When it comes to fighting dangers that face us like cancer, don't we want the strongest ammunition?   If we are going to eat fruits and vegetables why not get the most possible health benefits?

I understand it's expensive, I really do. I have to budget all the time but I think my health is worth it.  You can buy locally grown ORGANIC fresh produce to save some money. Check out your local farmers market. Last week I went out to the Westport Farmers Market I bought so much wonderful organic produce for $40!

You will also notice savings elsewhere especially if you eat only plant-based. I don't have to buy expensive face creams to make my skin look healthy. I also don't spend a lot of time or money on doctors or prescription drugs. Each of my children have only had antibiotics once in their lives!  If you do have to choose though, please remember the dirty dozen. 


Comment

Comment

Mung Beans & Rice Tacos

IMG_0344.jpg

This meal has been in heavy rotation with my family for years. Teens who like Indian food love this dish. I originally was hooked on this meal at one of my go-to restaurants, Hugos when I was living in Los Angeles. They shared the recipe that they had adapted from Yogi Bhajan who I knew nothing about at the time.

I had been listening to Guru Singh's incredible lectures on his podcast and he kept referring to the teachings from this teacher, Yogi Bhajan, pronounced (budgen). After hearing his name multiple times I wondered if he was the same yogi from the mung beans and rice recipe. Lo and behold, he is! 

This version is a taco, but I often make it as a plant-based quesadilla with either Food for life Brown Rice Tortillas (sold in the frozen section at Caraluzzis, Nature’s Temptations or Whole Foods) or Stacey’s Organic Wheat Flour Tortillas (Nature’s Temptations).

My version is a heart healthier one that substitutes water for oil or ghee. The healthiest version would not include plant-based cheese but I enjoy it from time to time. The original recipe called for 1/2 cup oil (or ghee) to sauté the onions and suggested adding the basil, bay leaves, cardamon and salt at the end after cooking it for about an hour on the stove top.  Like Guru Singh, I am also vegan so I'm not recommending the use of ghee. After doing a little research on Yoji Bhajan it looks like he was vegetarian. Sadly he passed away from heart failure at 75. I can't help but wonder if he had followed a whole foods plant-based diet if he would around today.

Recipe- Makes at least 8 servings

1 cup dried sprouted or regular mung beans
1 cup California brown basmati or sprouted brown rice
5 cups water (if cooking on the stove top add 7 addition more when necessary)
4 carrots chopped
3 stalks of celery chopped
2 onions (sometimes I only use 1)
1/3 cup minced ginger root (peeled)
8-10 cloves garlic

Spices:
1 heaping tsp turmeric
1/2 tsp black pepper
1 heaping tsp garam masala
1 tsp crushed red chilis ( I like it spicy but my youngest daughter prefers 1/2 tsp)

Herbs:
1 tsp sweet basil
2 bay leaves
1 tsp cardamon
Sea salt, soy sauce or Braggs liquid aminos to taste

Serve with:

Organic Corn Tortillas
1/2 red bell pepper chopped
steamed broccoli
Violife or Miyokos Shredded Cheese
Cholula

Guacamole
2 1/2 avocados mashed
1/2 lemon squeezed
1 tsp garlic powder
salt optional and to taste

Chop all of the ingredients in a food processor to save time. Add all of the ingredients except the broccoli into a pressure cooker. Make sure the pressure cooker is set airtight and cook for 20 minutes. Allow the pressure to come down naturally before opening it or just keep it on at let it stay warm. Alternatively this can be made in a slow cooker on high for 3.5 hours or low for about 7. Steam the broccoli 3 to 4 minutes, just until soft right before you plan on assembling the meal.

Heat a cast iron pan with a little avocado oil on medium heat. Place a tortilla on the pan and sprinkle about 1/8 cup Violife or Miyokos shredded cheese on the tortilla. Wait about 30 seconds to 1 minute for the tortilla to soften.  Spread about 1/4 cup of the mung bean mixture on one side of the tortilla. Fold the other half over. When the tortilla looks slightly browned it's done. Depending on the size of your cast iron skillet you can make 2 or 3 of them at a time. You can alternatively cook them on the a regular skillet if you prefer. 

Serve with guacamole and sprinkle the chopped red bell pepper on top. 
 

If you don't already own a pressure cooker. I can’t stress enough how much time and effort will save you.

Comment

Best of the Best: Yoga Gear

Comment

Best of the Best: Yoga Gear

One of my favorite parts of being a teacher is watching new students fall in love with yoga. Often they start out practicing casually, but once they discover the transformative power of yoga they can't wait to practice again and again. It's usually around this time they decide to invest in more high end gear. 

I started the same way about 15 years ago. I had an entry level mat, straps and a block from Gaiam. It served me well at the time but as my practice grew I needed something more durable for the long haul. I ended up giving away my block to a friend in need. The mat I kept as a keepsake that still makes me smile to this day. Although I have purchased more straps from another vendor, I still have mine. It's lasted just fine. 

Throughout the years I have bought a pretty nice collection of mats and props. My recommendations below are all out of personal experience. I won't add any product I don't believe in wholeheartedly. These are my favorites with a little review and purchase link. I opened an Affiliate Account on Amazon. If you are a member and want to buy anything I recommend, I would appreciate if you do it through this link. I don't make a lot, but it's a nice way to help me support the content on this site. :)


For years I used an loved my Manduka but I have to say, I’ve found a mat that I love even more. The Liforme Yoga Mat has guides that help you with alignment. After using mine for the past few months, my practice has shifted quite a bit. I’ve been able to fix an issue with my shoulders and hip. In full disclosure, I have paired this with a yogic diet cleanse, but I’m 100% sure the yoga mat is helping me with this progress.

PROS: It’s nonstick, eco-friendly and non toxic. They are wonderful to help with alignment and have 0 break-in time.

CONS: They mark up easily so consider them your warrior battle wounds. It’s not going to look perfect soon after practicing, but the alignment aspect makes them indispensable.


Manduka Pro Yoga and Pilates Mat- 

PROS
This is the mat I use to practice and teach with at home. It's a wonderful investment and you will never need to replace it. I have had mine for at least 7 years and use it daily. Another upside of this mat is it's very cushy for student's you have sensitive knees. I've noticed that this is probably the most popular mats among teachers and for whatever reason they are usually black but they make some wonderful colors too.

CONS
It's pricey but it will stay in style longer than trendy yoga pants for about the same price.

You need to break it in. There is a bit of film on the mat when it comes. If you have a tendency to slip on the mat you will need to do the break in process with sea salt. If you life in cold climates don't put the mat out in freezing temperatures. They recommend putting a few towels underneath. I used kosher salt and water when I did mine years ago.


Manduka eKO Yoga and Pilates Mat

PROS
I bought 2 of these before I decided to get the Manduka PRO. They are about $25 cheaper than the pro and made of non Amazon harvested tree rubber. The coating on them  makes them better if you tend to slide on a mat. While they aren't as thick as the Manduka PRO they still have a bit of cushion.

CONS
Both of mine stained after years of use although still fully functional. They also unraveled a little on the edges. 


Jade Harmony Yoga Mat-

PROS
I use this mat anytime I go to public classes. I love this mat for a couple of reasons. It's light enough to bring on the train and walk around the city. I also never ever slip, even in heated classes. I've only had this mat for about a year but it hasn't degraded whatsoever. 

CONS
It's pros are also it's cons! Since it's so light, there is minimal padding for sensitive knees. This isn't a big deal for me, but I could see someone having an issue with it. The nonstick texture is also a bit bumpy. This only bothers me when I do a jump through and my bottom foot grazes the mat.


Hugger Mugger 4" Foam Blocks

PROS
Everything! I love these blocks. These are the only ones I prefer for myself and my students. I find them to be the perfect density and weight. I love that they are sturdy enough for handstands yet not too heavy like a cork block to hold between my feet in core work. I also like that they have white lines running through the width of the block. I use them to line up fingers with chatturanga supported holds and pushups. 

CONS
They aren't cheap. In order to do a lot of the drills and homework I like to assign my students you will need 2.


Hand Woven Thunderbird Mexican Yoga Blanket-

PROS
These are my favorite blankets and this turquoise one is so pretty!! They have other colors, but I have to say I'm fighting back buying this one as we speak. The reason I love this particular blanket is that it's really pretty. I have an orange and a green one in my studio. Over the years I have bought other blankets when I found a cheaper deal but I wish I had stuck with just this brand. I find they are a perfect weight for blanket slides. They are an acrylic, polyester cotton blend and machine washable. 

CONS
They aren't as dense as a wool blanket. This is more helpful when your getting into the calves. This is used when you roll the blanket like a taquito placing it between your calfs and your thighs while sitting on your shins. You can still do this with this blanket it's just not as effective. The fact that it doesn't use animal products is worth not getting as deep of a calf massage in my opinion. 


Yoga Accessories Supportive Rectangular Cotton Bolster

PROS
This is is the only brand I use. I really like the choice of colors and softness of the bolster. I find other brands can be too dense for my taste. These bolsters are also reasonably priced because they can get expensive. I've had mine for years and they hold up. 

CONS
none


Namaste Yoga Lavender Eye Pillows

PROS
They are reasonably priced. The lavender scent doesn't seem to fade over time. I've had mine for about 2 years. You can freeze and microwave them. They are made of cotton instead of silk.

CONS
They are only sold in a pack of 4. The pillow cover is sewn together so you can't remove it to machine wash. 

I hope you found this page useful. If you have any questions about the products, leave me a comment. 

Dharma yoga wheel basic

Amazon_com___Dharma_Yoga_Wheel_BASIC_Eco-Nomical___Relieves_Pain_and_Stress_in_your_Back__Hips__Chest__and_Shoulders___100__Satisfaction_Guarantee___Sports___Outdoors.jpg

PROS
This is a wonderful prop to help your flexibility and strength. There are so many different poses you can refine with this prop it will continue to grow with your practice. This prop was designed by my teacher, Dharma Mittra and his son. There are cheaper knockoffs but he was done so much for the world with yoga, I think he deserves the sale.

CONS
It's a little pricy, but still halfof the cost of high end yoga pants. :)

Comment

Comment

Transitioning and Basic Alignment of Common Standing Yoga Poses

Some of my student's reached out to me recently to let me know that the last set of videos on vinyasa were very helpful. I was so happy to hear that! I decided to put together another video with a similar format. . This time I cover basic alignment transitioning through some common standing poses. It's a short 3 minute video. I hope you find it helpful too. 

This video is about basic alignment in the standing poses, Warrior 1, Warrior 2, Side Angle Pose and Triangle

Comment

Comment

Yoga Vinyasa Demonstrated and Explained

Believe it or not, if you don't really understand what a vinyasa is, you aren't alone. Its very common for students to go to yoga classes and be rather confused about what they are doing. I've even had a student ask me "What the hell is chatturanga?" 

I love that my students are comfortable enough with with me to ask questions they might otherwise be embarrassed to ask at other classes. I always like my yoga classes to be friendly and an opportunity to learn.  

When I have beginner students who are interested in my group classes, I like to start them with the series,  Beginners Basics. A new group started  a couple of weeks ago and I thought it would be a nice blog post if I deconstructed vinyasa. 

Below I've demonstrated 3 different variations for students to use as their vinyasa. They are in order of easiest to hardest. The last version is a strength building exercise that is helpful not only for chatturanga but can be used by advanced practitioners to gain strength for arm balances. I hope you all find this helpful.

This video is for a beginner showing the breath and names of poses in a vinyasa. This version demonstarates knees, chest & chin instead of chatturanga.

This video is demonstrates a yoga vinyasa for a beginner with a modified chatturanga

This video is demonstrates a traditional yoga vinyasa with jumping back to upward facing dog

This video is demonstrates an exercise to help you build strength for chatturanga

Comment

Back to School- Simplifying Hectic Life with Nutrient Dense High Protein Plant Foods

Comment

Back to School- Simplifying Hectic Life with Nutrient Dense High Protein Plant Foods

Back to School can make feeding your family a challenge, especially when you have a kid in a competition sport. I know this all too well with a high school aged daughter on a competition dance team! My life is a bit crazy, but I'm not alone. Most kids in after school activities have demands far beyond what was considered normal in my childhood growing up in the not-so-normal 70s and 80s. 

Pressure is high and family time is low. It's far too easy to grab convenience foods instead of preparing a quality meal.. While I keep my freezer stocked with quick plant-based options, it should go without saying it's not the healthiest of options. 

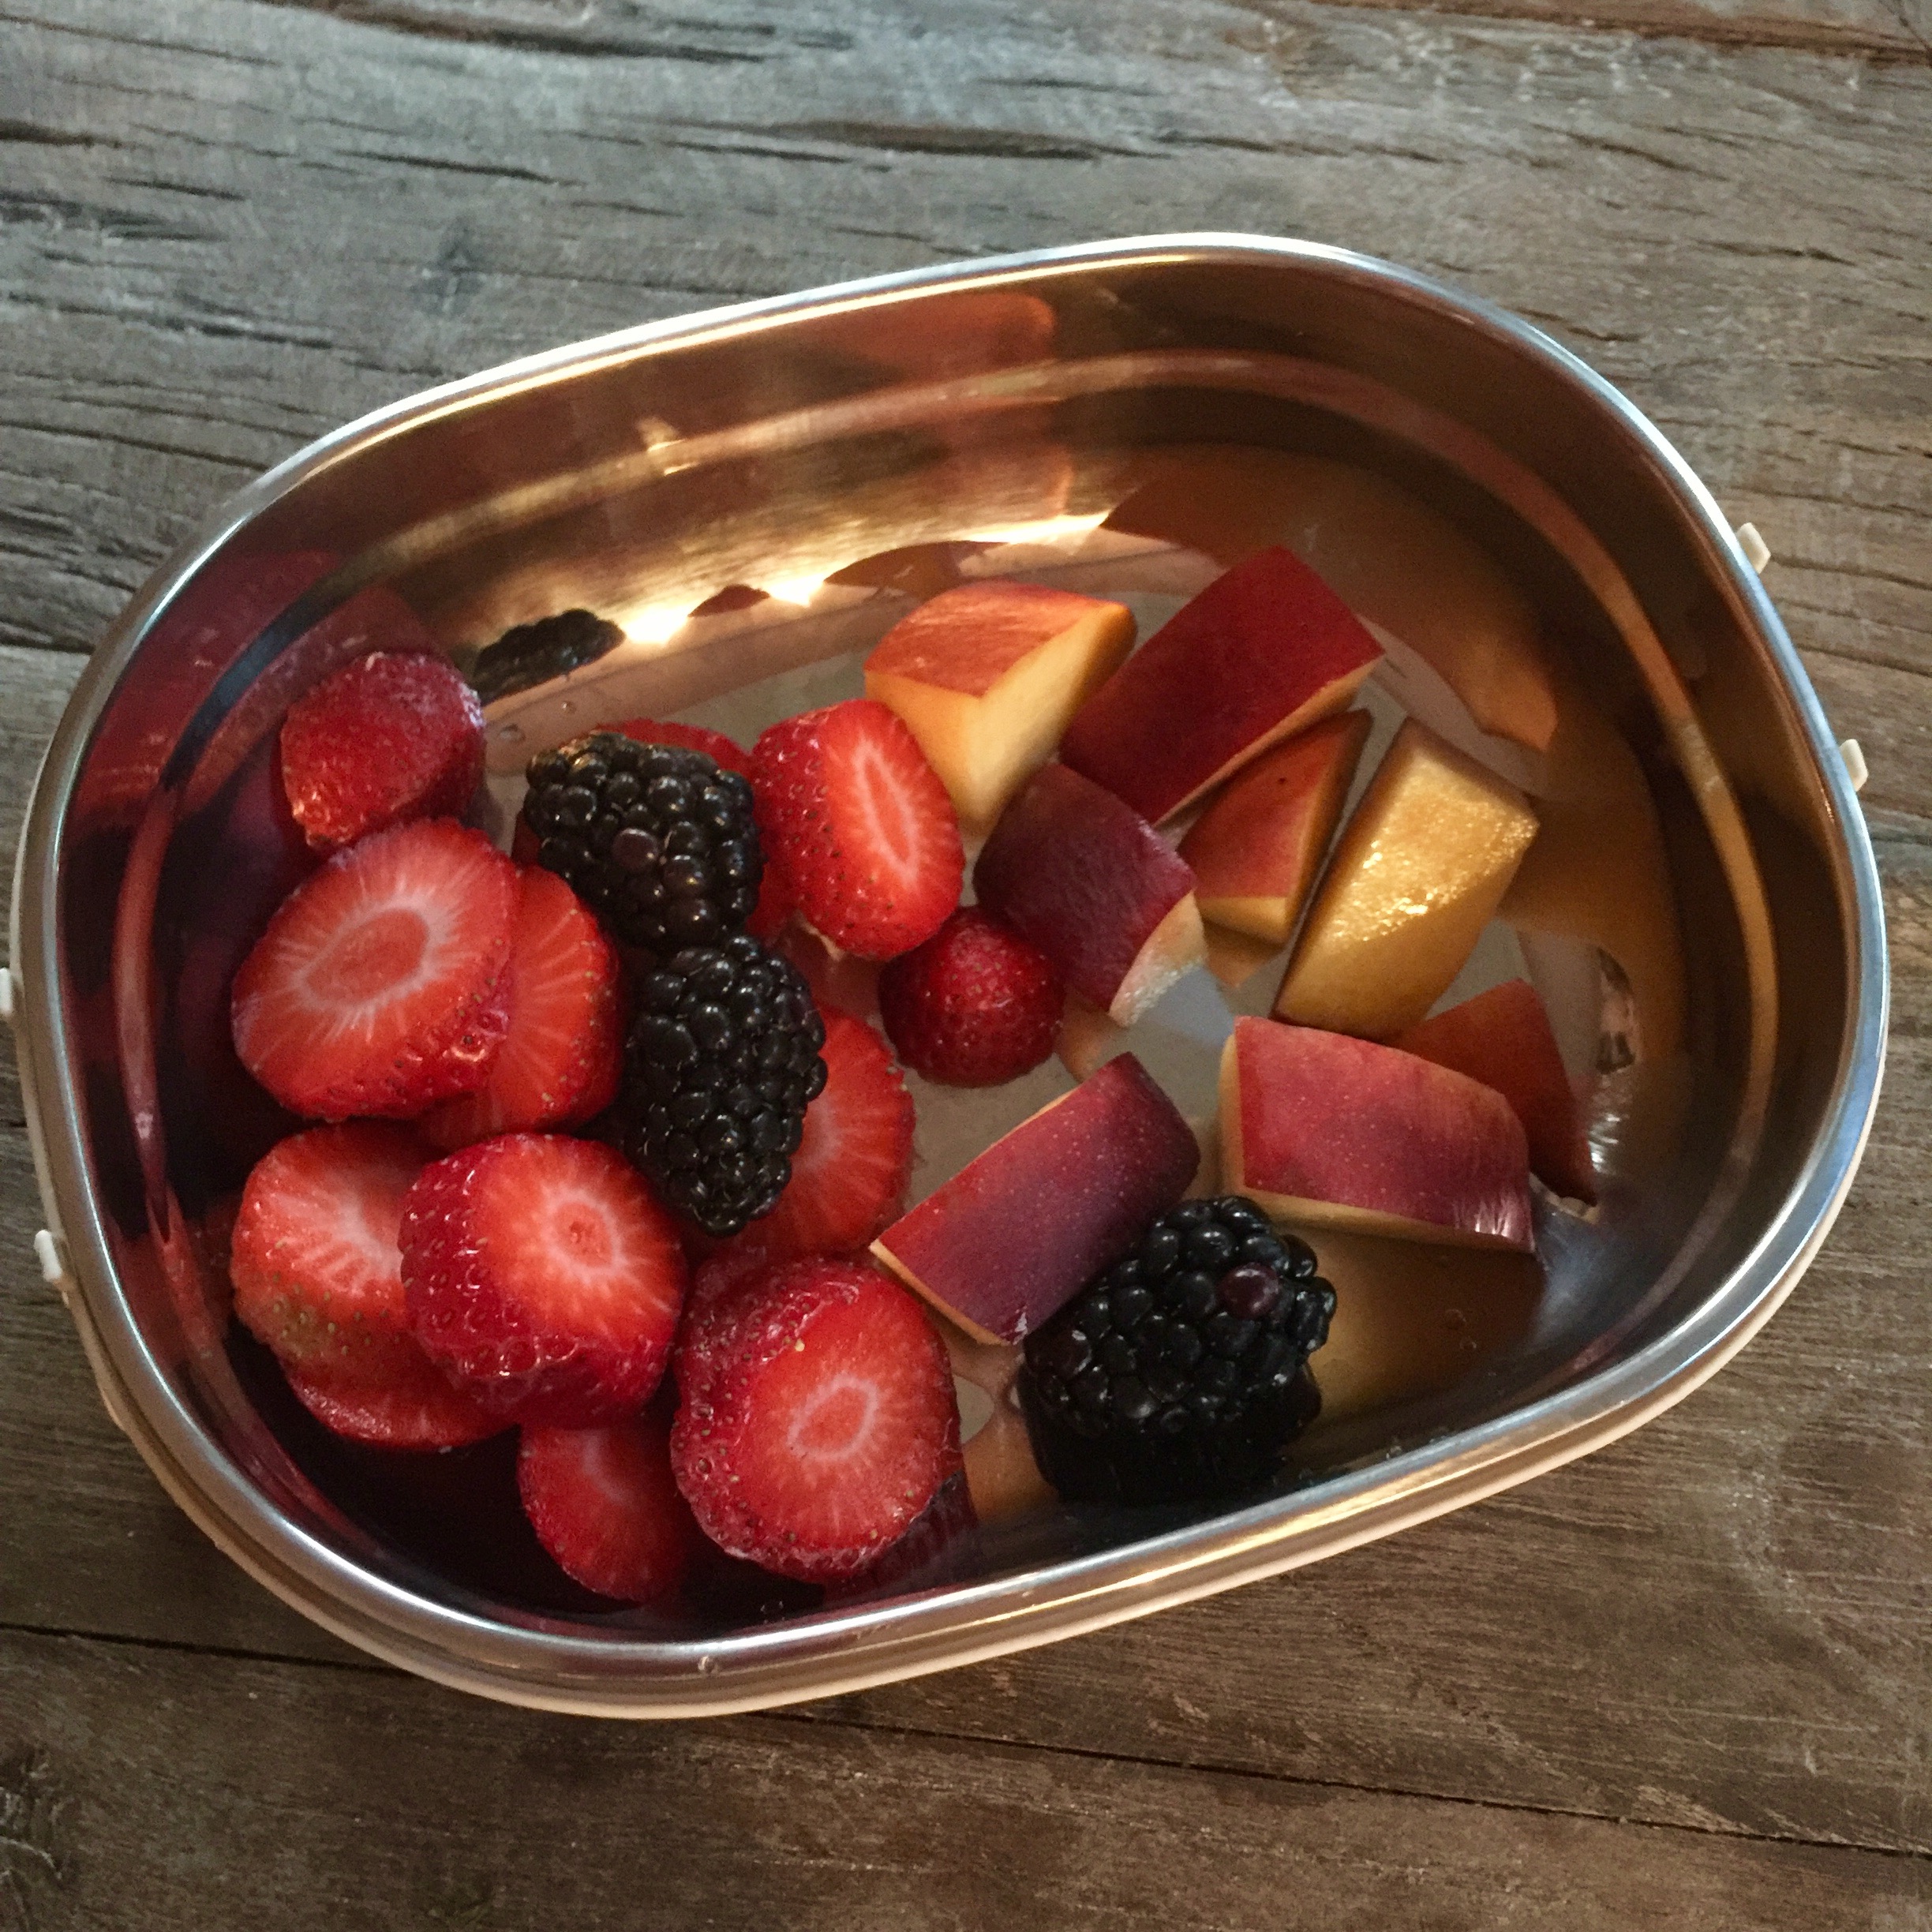
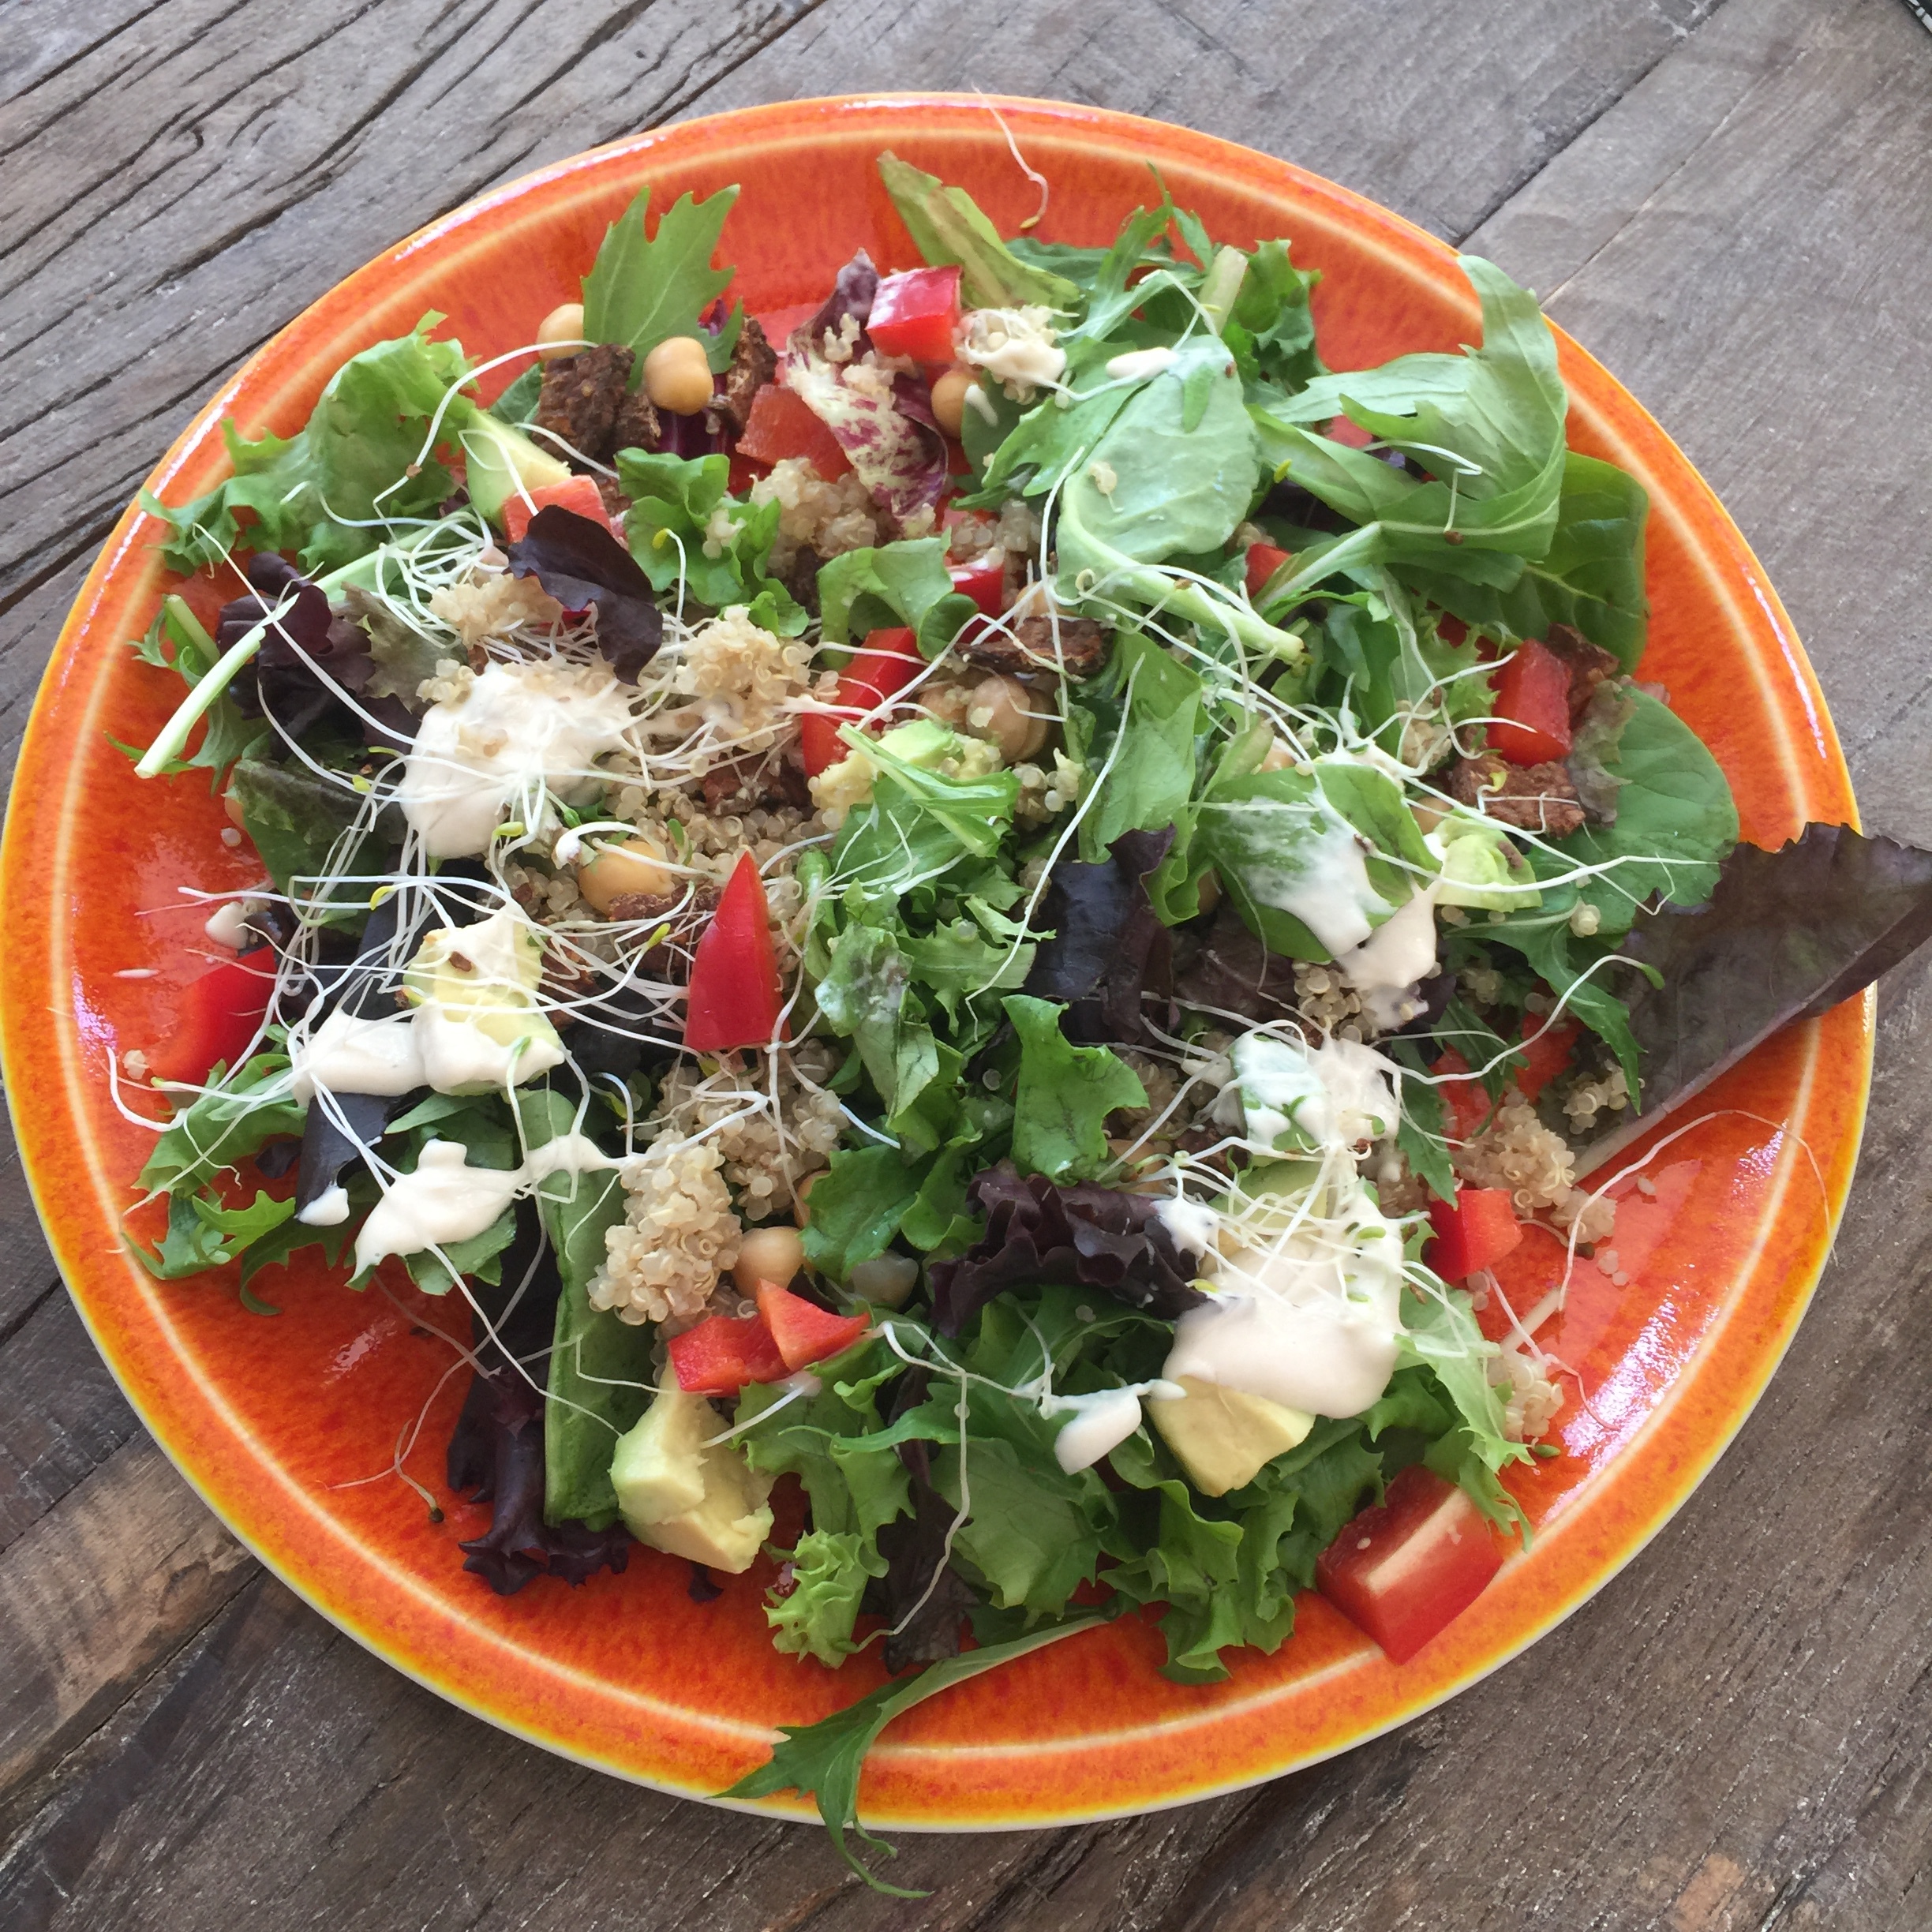
This year I decided to get bento boxes for my 2 daughters and husband in an effort to streamline the process. We do a lot of bowls at home because it's a really nice way to make everyone happy. 

My time during the weekdays is limited. In addition to my daughter's nutty dance schedule, I teach yoga, dedicate time to plant-based/vegan coaching and education and work part-time for my husband and my digital creative agency, Real Pie Media. As much as I would love to spend time making fabulous meals during the day, I've found it much more productive to take a few hours once or twice a week and prepare batches of food to have on hand. In addition to making it easier on me, my family tends to make better choices when the food is readily available. 


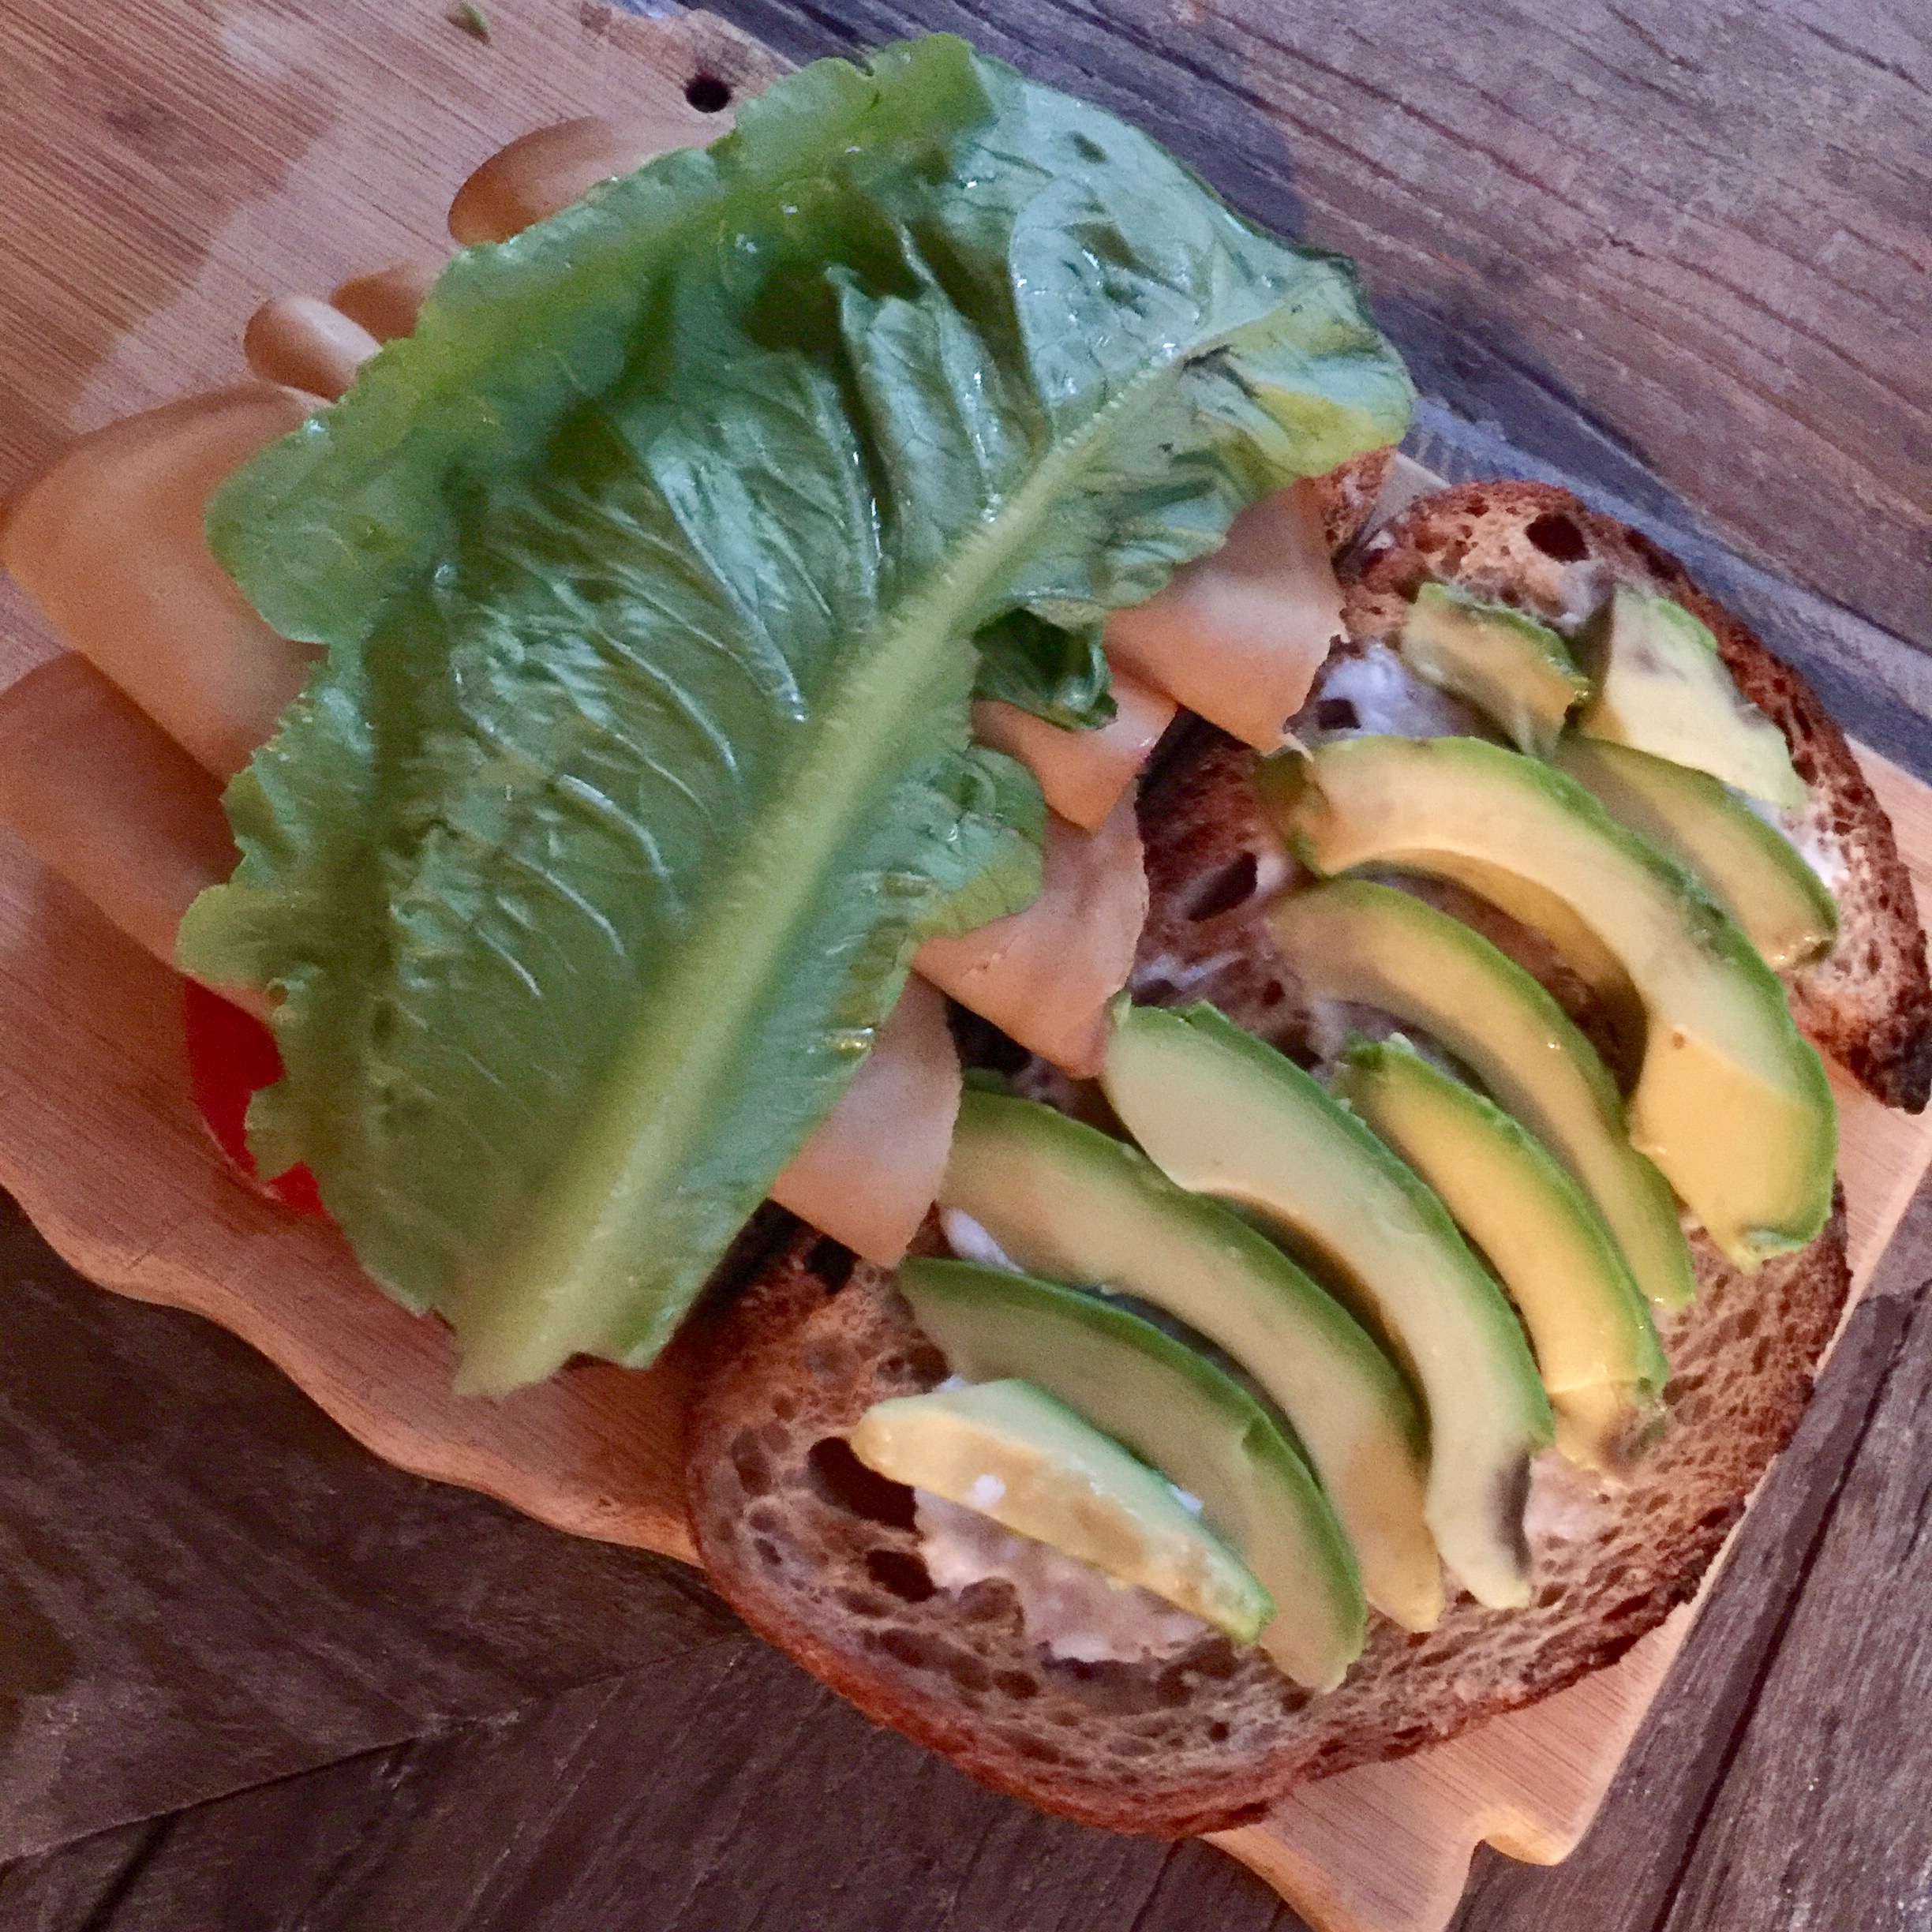
In addition to the food I make, I also stock the refrigerator with lots of organic fruits, vegetables and pre-washed mixed greens. This week I bought my favorite bread,  the Bread Alone Organic whole wheat sourdough, Tofurky hickory smoked deli slices, bacon flavored tempeh, organic tofu and Trader Joe's tahini sauce.  

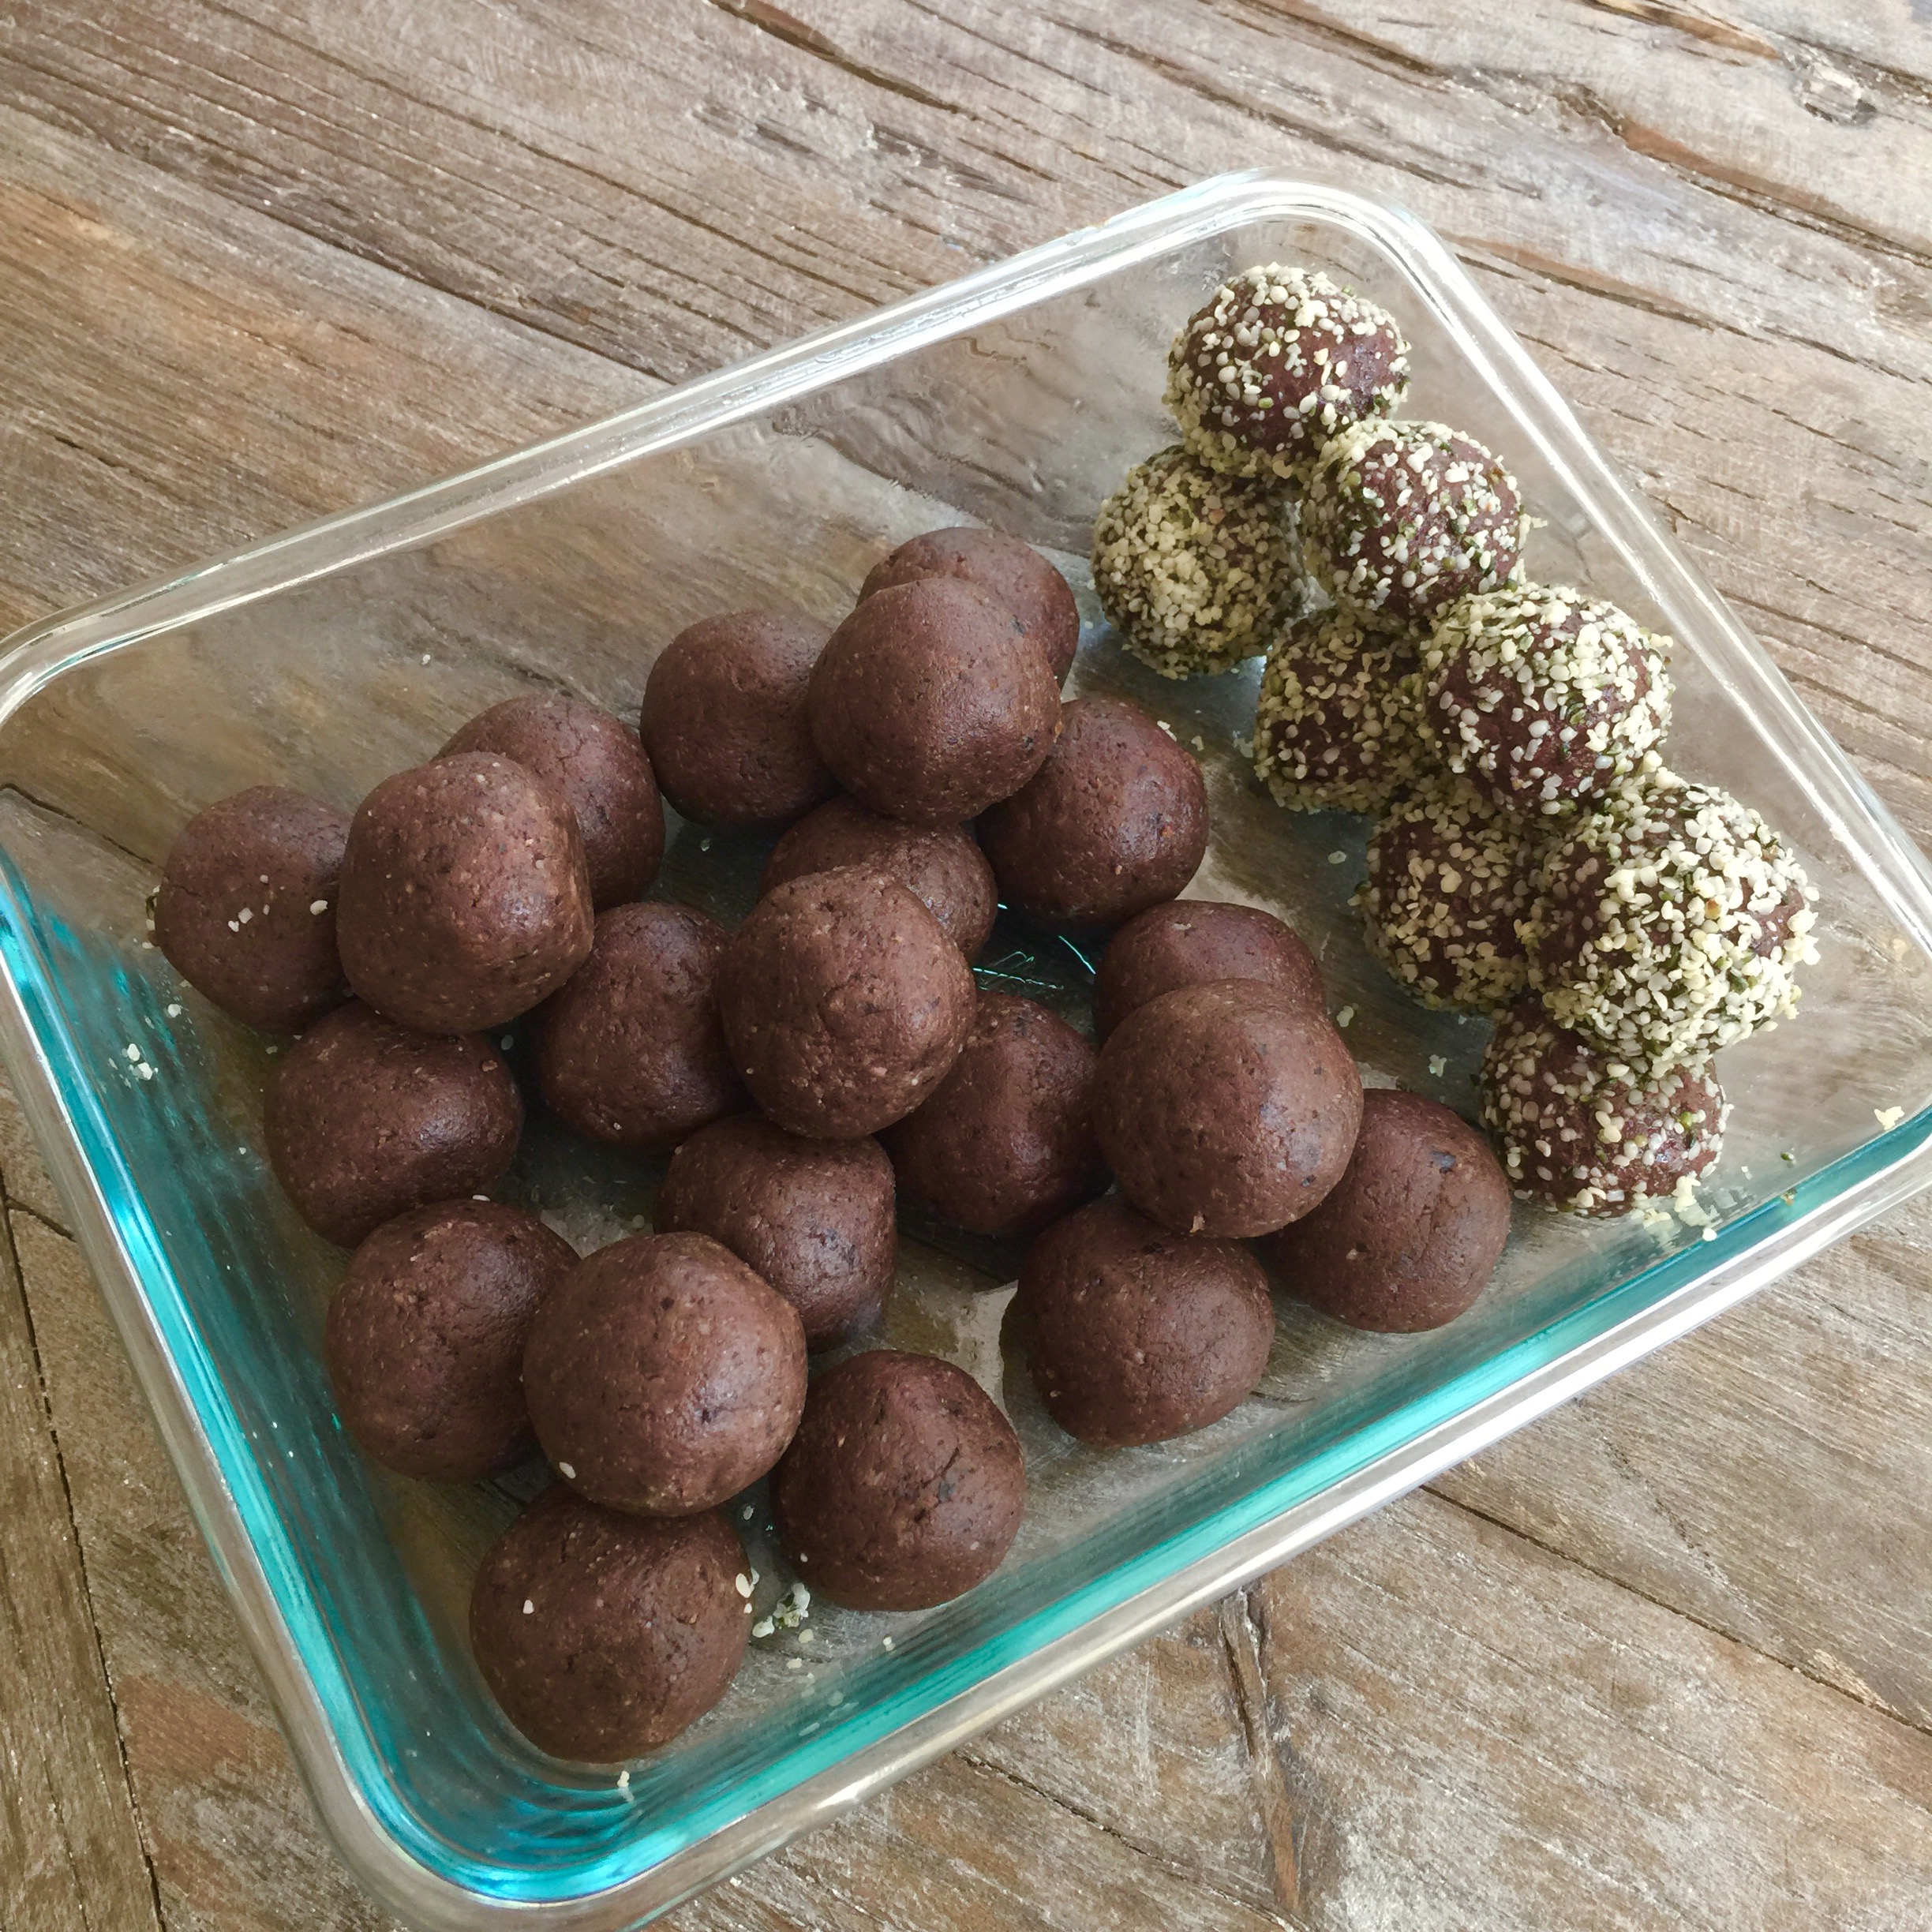
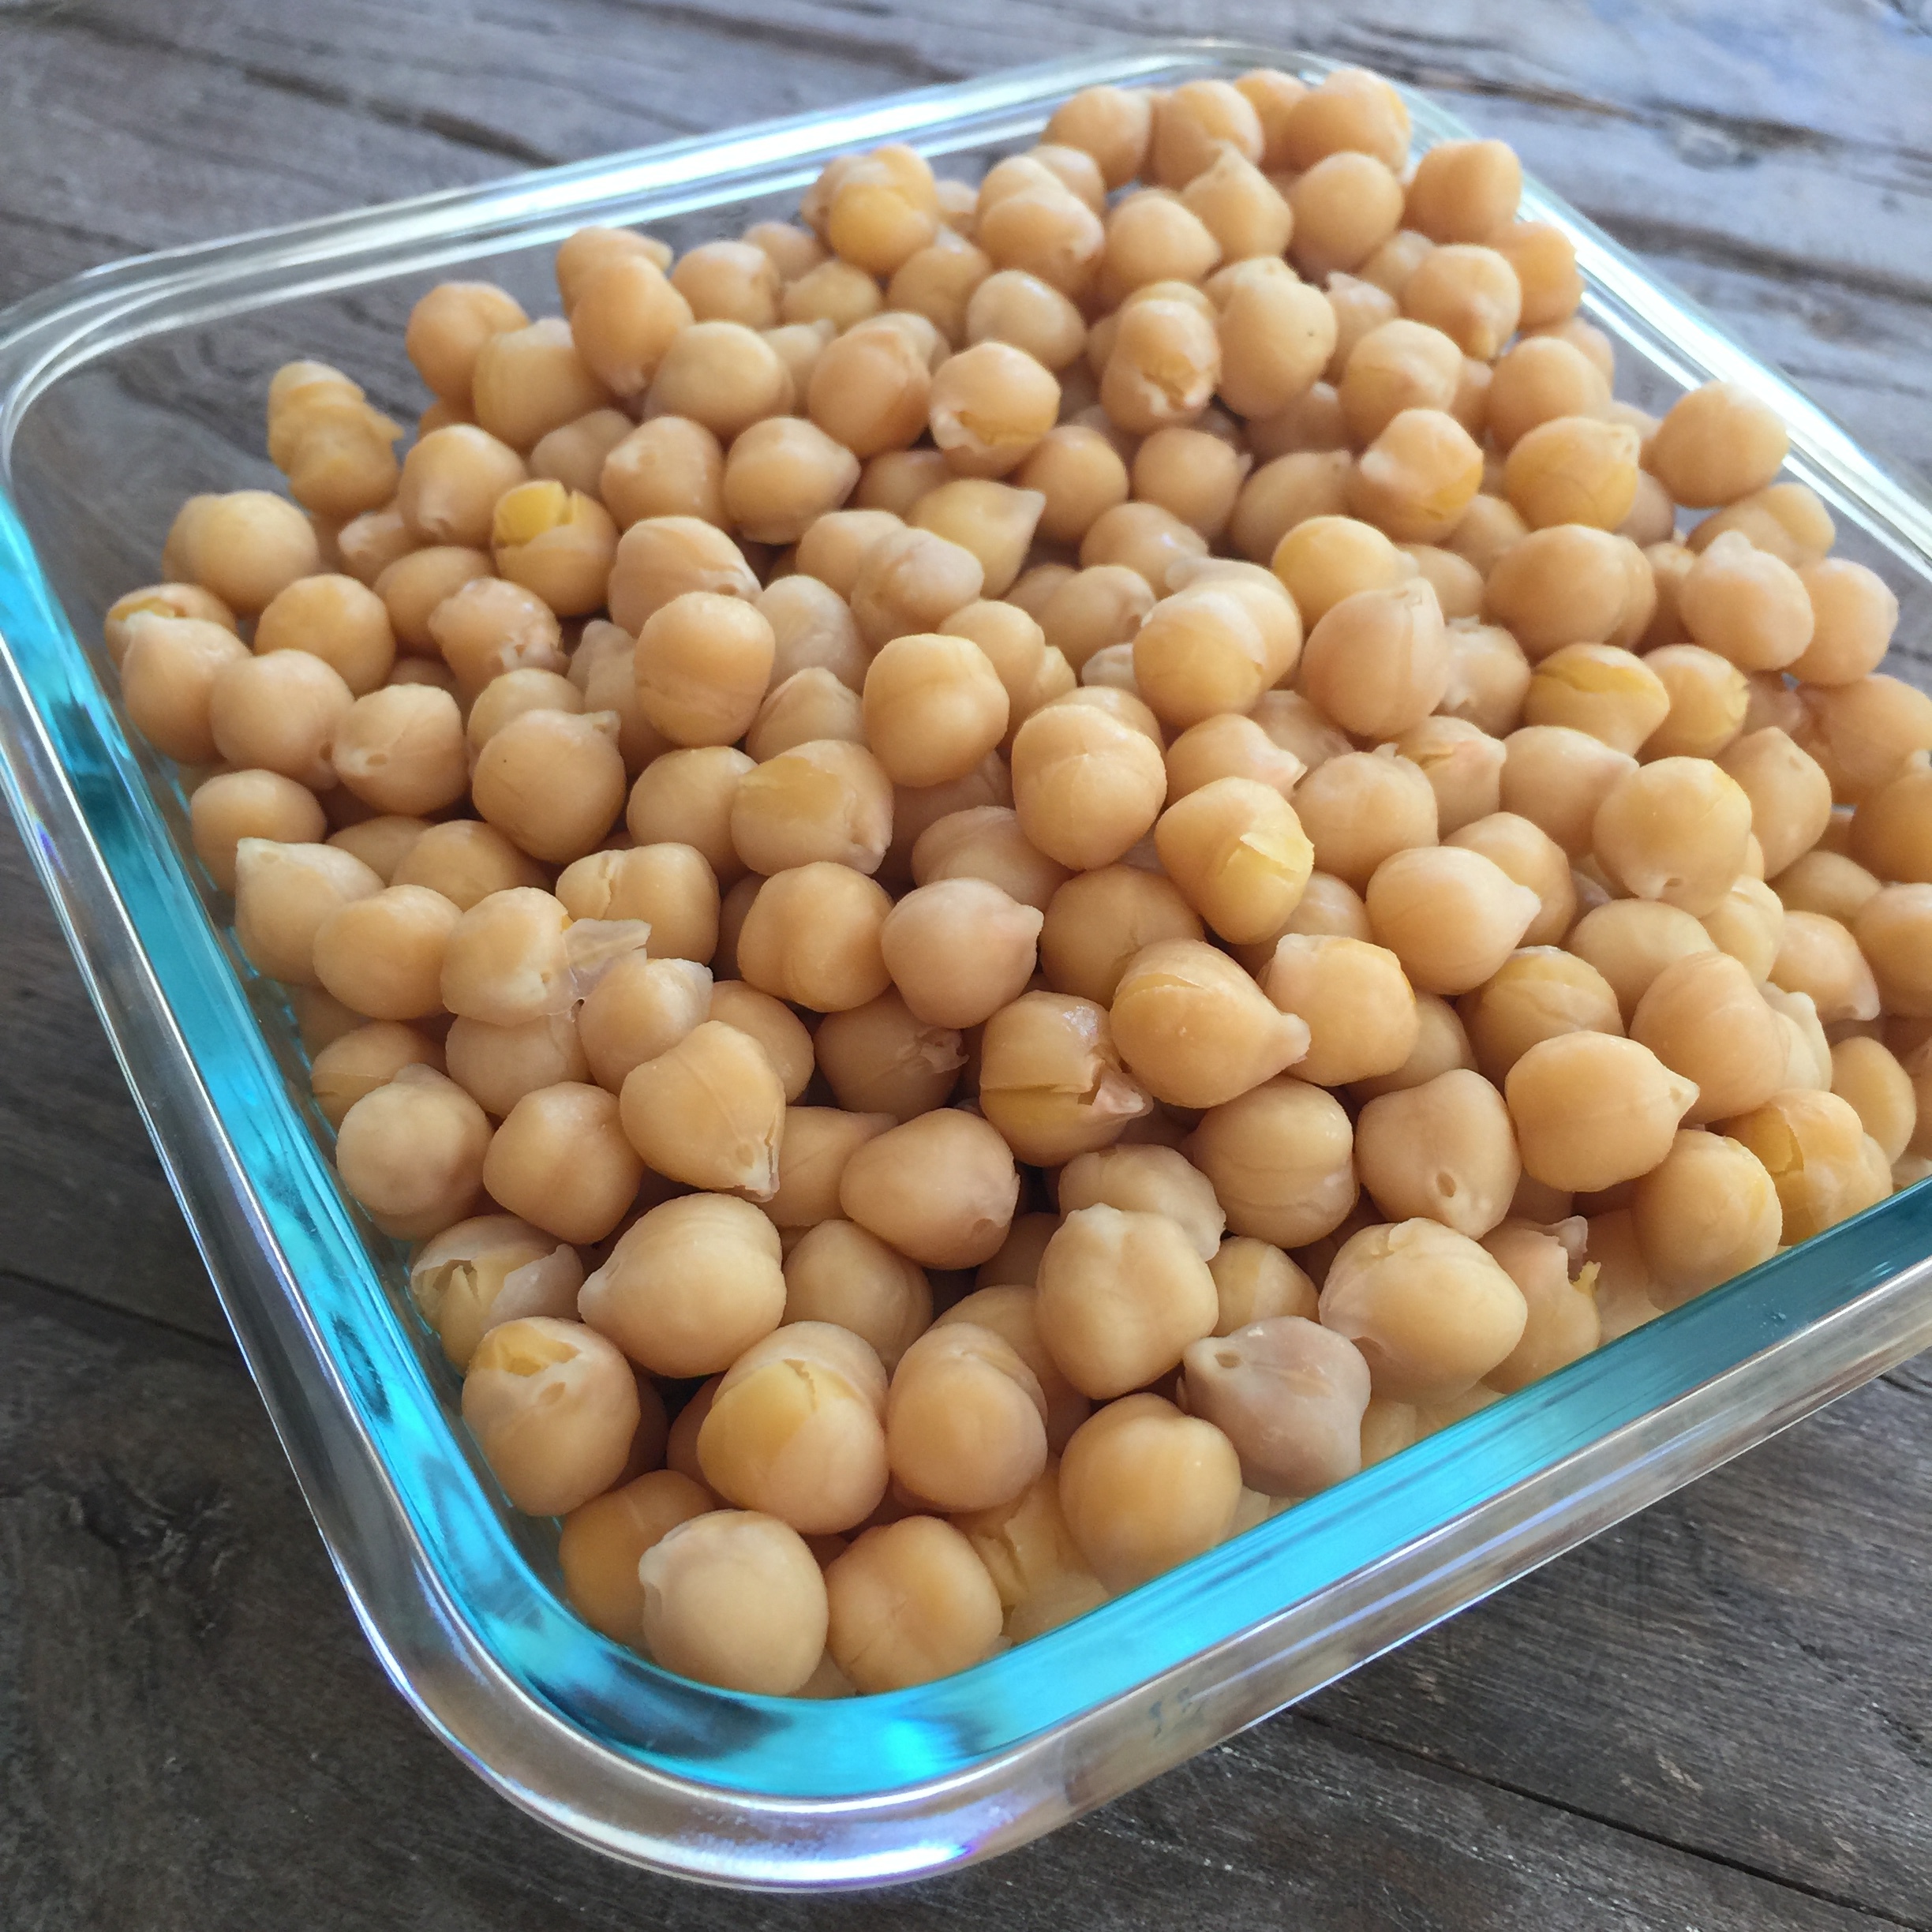
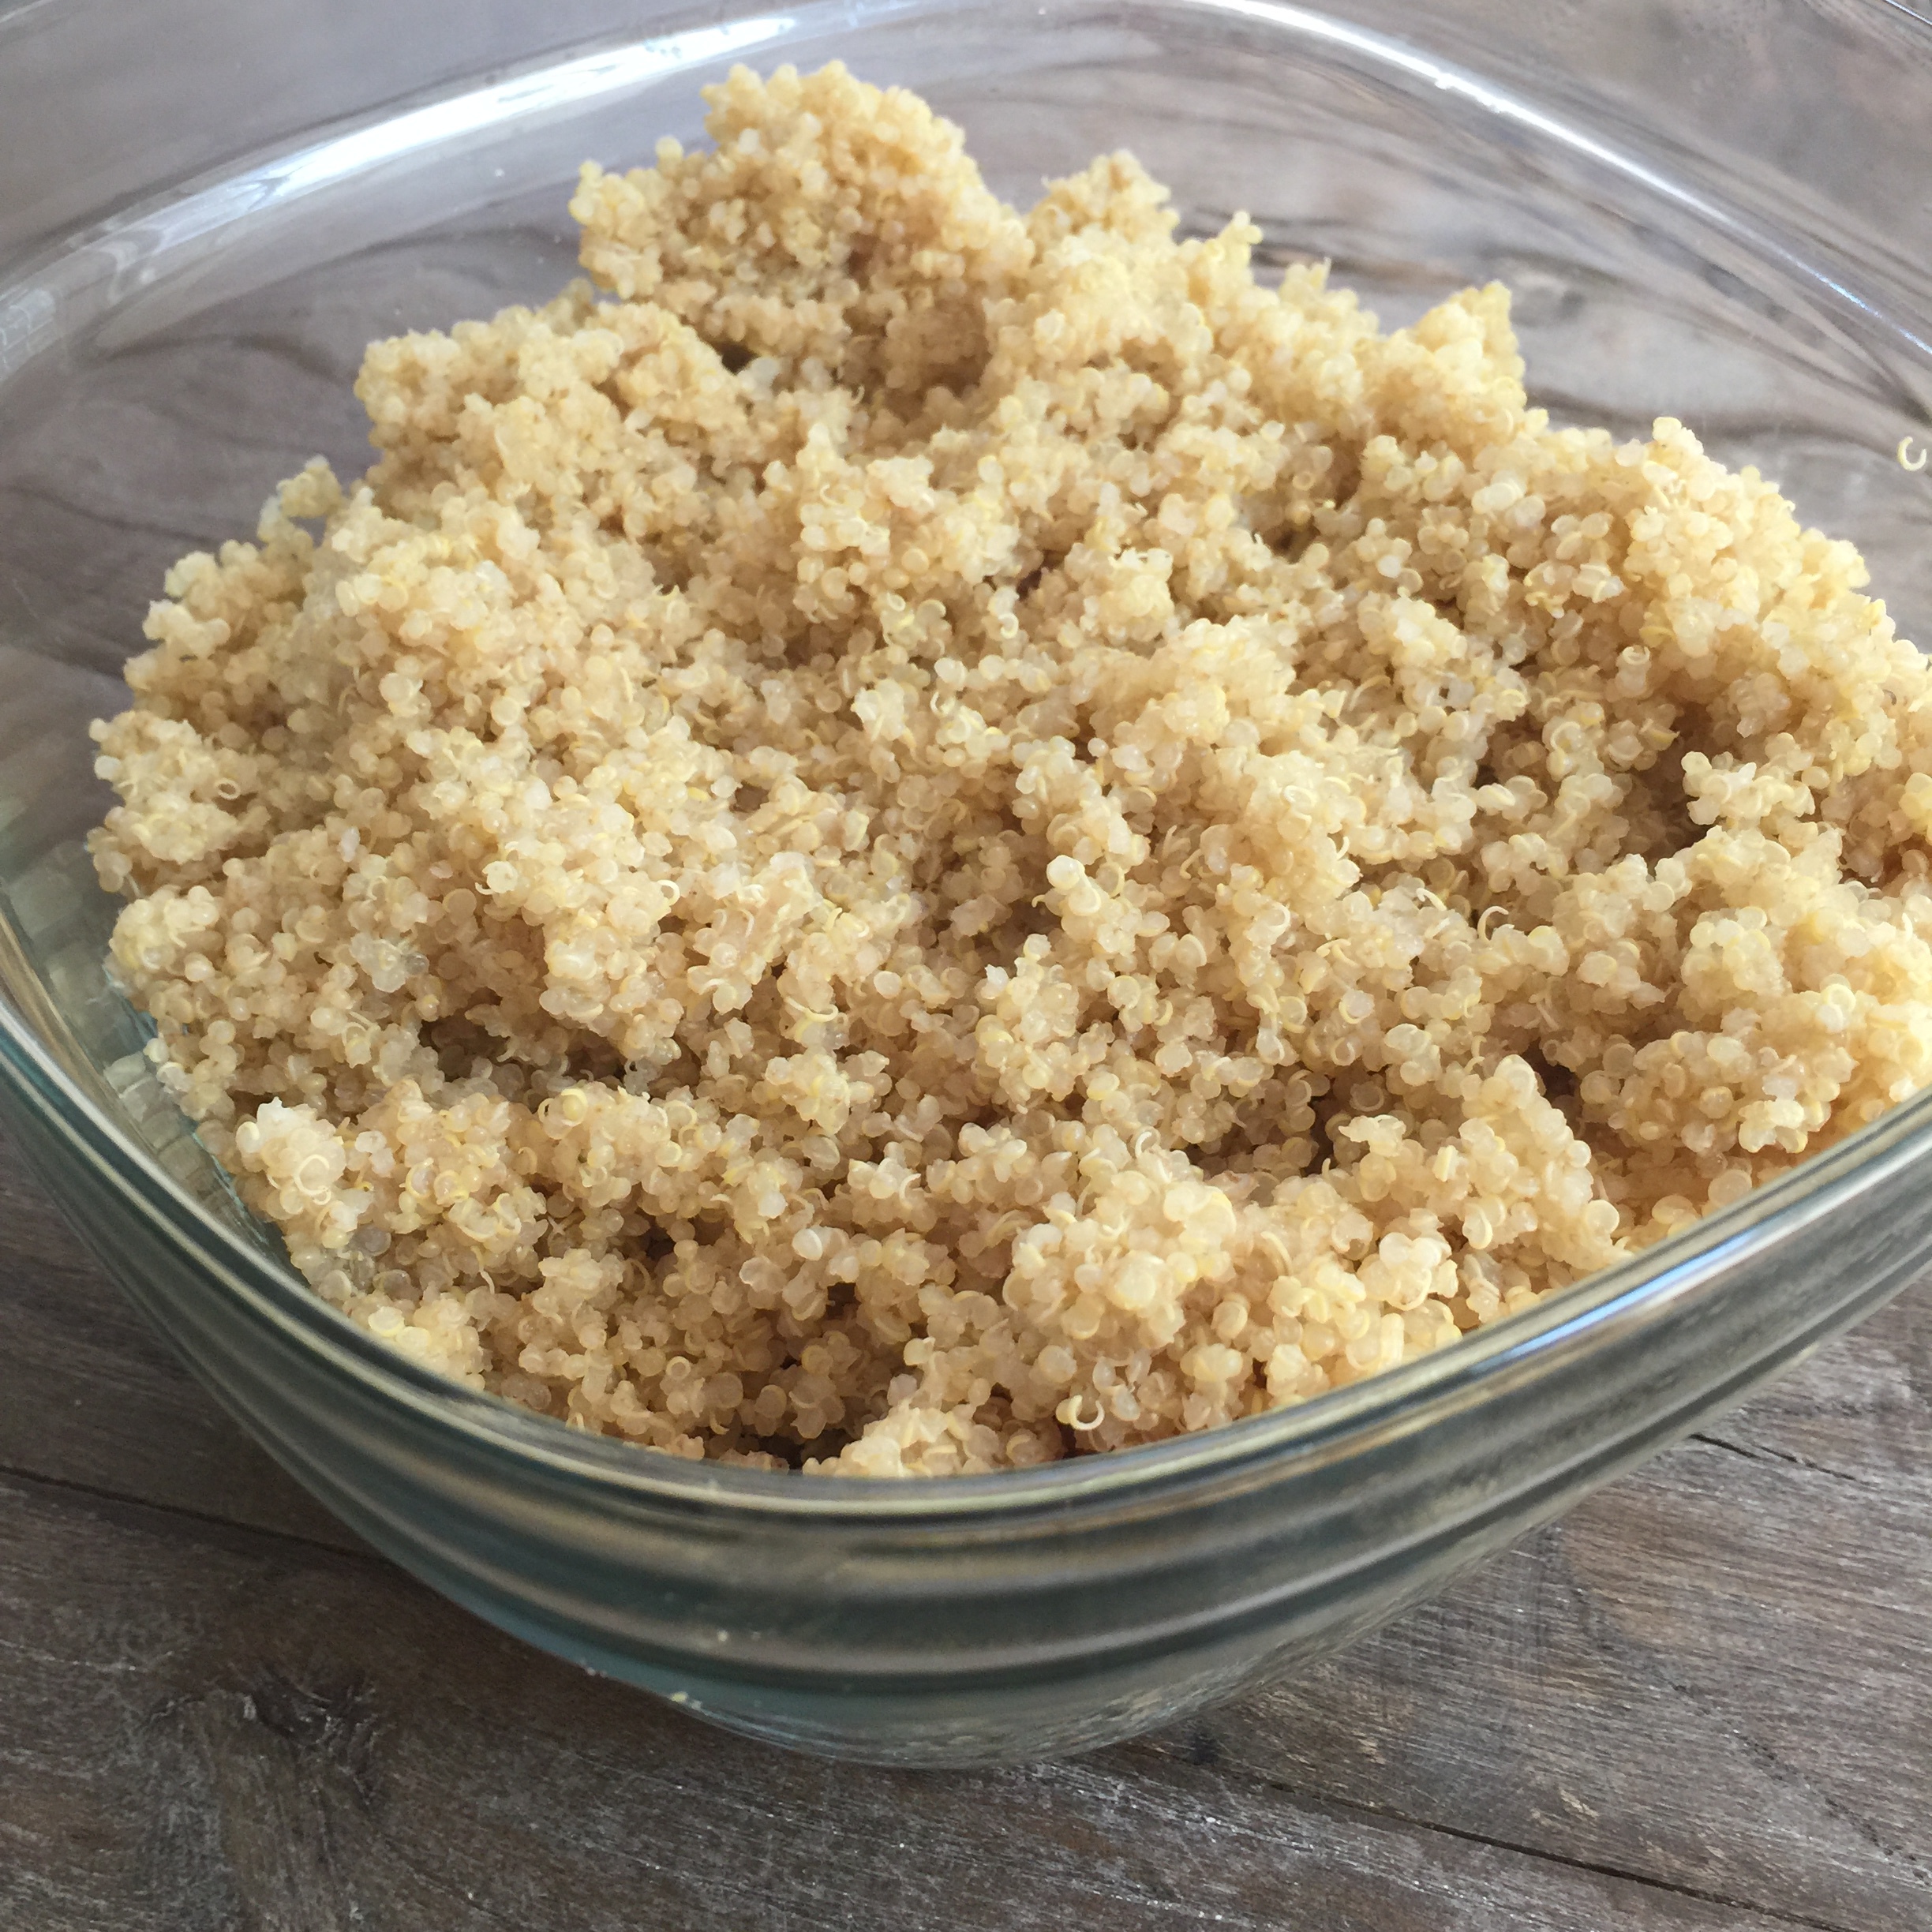
I prepared a lot of food using my new favorite appliance, the pressure cooker and a food processor. I also usually work with 1 or 2 pieces of equipment at a time to limit the amount of clean up. In about 2 1/2 hours I made batches or fresh garbanzo beans, quinoa, brown rice, superfood energy balls from Rich Roll & Julie Piatt's The Plantpower Way cookbook and Chocolate Peanut Butter Energy Balls. My 11 year old daughter who is almost always happy to help me cook made a chia seed pudding using the Vitamix for me as well.

We had plenty of lunches, dinners, snacks and dessert for the week. Getting the kids out the door was relatively easy. Having so many options allowed me to spend the small amount of time we have together catching up instead of worrying about what to prepare. 


Comment